Bloomquist Dahlia Tips
I am so excited to share this with you.
Paul and Barbara Bloomquist — Whatcom County Dahlia Royalty, hybridizers of 100s of show dahlias, and winners of at least a dozen dahlia show prizes — came and shared at my garden club last weekend. Of course I took copious notes and here are all the juicy tidbits, in the order in which we need them this fall.

Autumn Work
Labeling Dahlia Plants

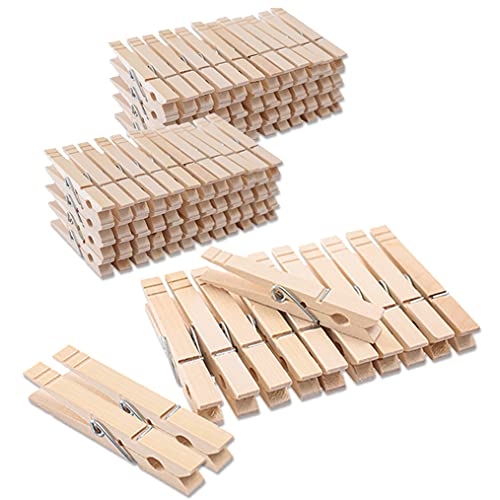
The Bloomquists use flagger’s tape with the variety written on it to label the plants, but they don’t tie the tape on! They clip in on with a clothespin and I love this idea so much. Bending over to find the base and reaching in with two hands to tie the label on is too much exercise for me. The clothespin goes on so much easier and, as you will see, has a benefit when it comes time to dig, clean, and store.
Cutting Back Dahlia Plants
Once the labeling is done, it’s time to trim the stalks down to 4 inches. Conventional wisdom is to do this after the first freeze, but in a rainy climate you may want to do it as soon as the fall rains come, depending on the drainage of your soil.
Lifting Dahlia Tuber Clumps
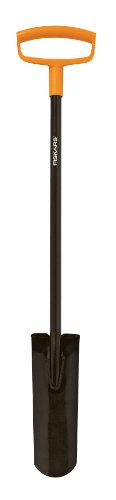
I’ve always used a garden fork to lift the dahlia tuber clumps out of the ground, but Paul suggests using a clam shovel to pop the tubers out. It makes sense, the narrower the blade, the fewer tubers it will make contact with.

Cleaning Dahlia Tuber Clumps
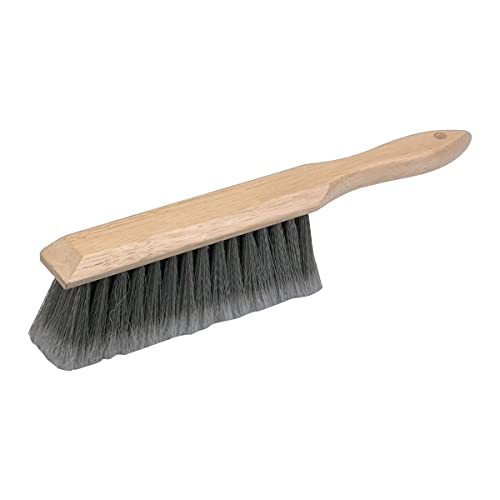
Paul recommends using a soft brush like the sort that comes in brush and dust-pan sets to brush off any excess dirt and then to cut the clump in two to release any dirt trapped in the middle.
Storing Dahlia Tuber Clumps
At that point, Paul suggests that we pop our clumps upside down in a plastic grocery bag (to let the water drain out) and then add an equal part of cedar shavings to the bag. Multiple clumps can go into each bag, but he does suggest that we divide each clump into two, storing one half in one little plastic grocery bag and the other half in another bag. This is to prevent losing the whole batch if there is rot. Multiple half clumps of the same variety go into each bag.

Then take the flagging tape and the clothes pin, and clip the bag shut at the handles, with the flagging tape attached. If you have any other durable labels, toss them into the bag as well. You can store multiple bags in a bin, just as long as no bag prevents air from circulating in the bags around it.
Dividing Dahlia Tuber Clumps
We didn’t have time to cover this, but there is so much info on this on YouTube etc. that I’m glad we spent the time on other topics. This can be done in the fall or the spring, or anytime in between. I will probably pick away at this all winter long, probably with a goal of a bag a day until I am done. After being divided, the dahlia tubers can just go back into the bag with their cedar chips.
That said, while chatting at the car afterwards, I spied my favorite snips in the back of their car. These Zenport hand pruners are by far the ones I reach for the most.

Spring Work
Propagating Dahlias from Cuttings
The mother tuber — the one that you put in the ground last spring from which all the new tubers developed — is not usually well-suited for another year in the ground. Instead, as she begins to sprout, cut the sprouts off and propagate new plants.
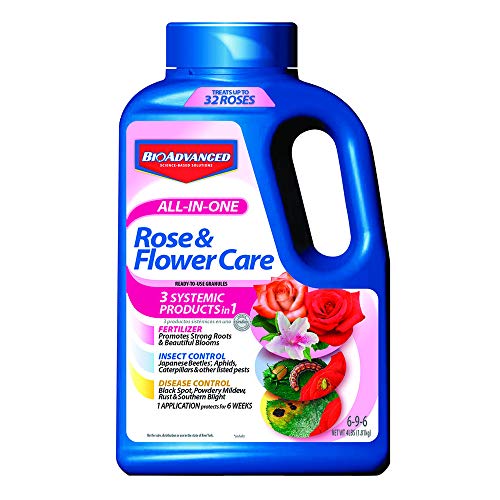
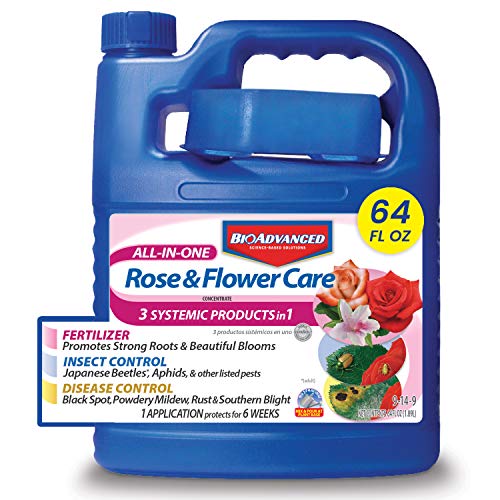
Punch drainage holes into some 3.25 oz condiment cups. Fill them with play sand and pop in your cutting. Put the cups into a tray into which you will periodically add water. As your plant grows, spray it with the Bayer fertilizer mentioned below.


Growing Dahlias from Seedlings
If you are growing from seed, keep the seedlings in a 4-inch pot the first year. You can fit 24 4-inch pots of seedlings into a black grower’s crate. The second year, don’t separate the tubers, just plant the whole pot — without the plastic of course.

Planting Dahlia Tubers
Prior to planting, Paul sprays his tubers with Bayer Systemic plant food solution, mixed per the specifications on the label. He says this protects the plants from all sorts of nasty situations that can come up as they go from dry storage to wet ground, in addition to fertilizing your new plant from the get go. Adding this step to my routine.

He also pops into the planting hole little plastic squares — looks like cut up laundry soap tubs — with the tuber’s name on it. These are insurance for if the other label disappears; they have a use at the storing stage as well.
Paul plants his tubers on end, vertically. He digs a nine-inch squarish hole and plants one in each corner. Twelve inches away he plants the next four. He leaves the tip of the tubers three inches below the surface of the garden bed, barely covering it with dirt. As the sprout appears, he back-fills the hole until it is filled up and then he piles on more dirt, making a hill. He says that gives the plant more stem on which to grow lots of small tubers and it makes the mother easy to find and set aside next fall.
Growing Healthy Dahlia Plants
As the dahlia plants start to grow, we should pinch out the terminal buds after it has four to five sets of leaves. In addition, Paul recommends that we always remove all terminal buds from above hip height to encourage more lateral growth for a stronger and sturdier plant.
Fertilizing Dahlia Plants
As dahlias are surface feeders, every two weeks until the end of September, Paul sprays the surface of the plant with the above-mentioned Bayer fertilizer solution.
I felt so blessed to get to learn from a master and of course I wanted to share it with you. I just finished labeling all my plants, but haven’t cut them back yet, as they are so pretty! I know the sooner I cut them the better the tubers will be, but I just can’t bring myself to do it.
How about you? What steps do you take in the fall? How is your progress?
Please follow us on Social Media: