Autumn Dahlia Care
It’s almost time to start digging the dahlia tubers
I wait until after the first frost, putting it off as long as possible. In these last few weeks of dahlia blooms, I take lots of pictures, map out my planting groups for next year, and savor the last bouquets. Because I am a gal who loves lists, here is my Autumn Dahlia Care ToDo List.
Guarding against Powdery Mildew:
Where we live, the fall is often damp. If you haven’t already removed the lower leaves for improved air circulation, you need to prioritize getting that task down now.
Remove the lower leaves from your plants to promote air circulation.
Powdery Mildew is a big concern at this point, so it is wise to move against it preemptively. We use Captain Jack’s Copper Fungicide with good results.

Preparing to Dig Dahlia Tubers:
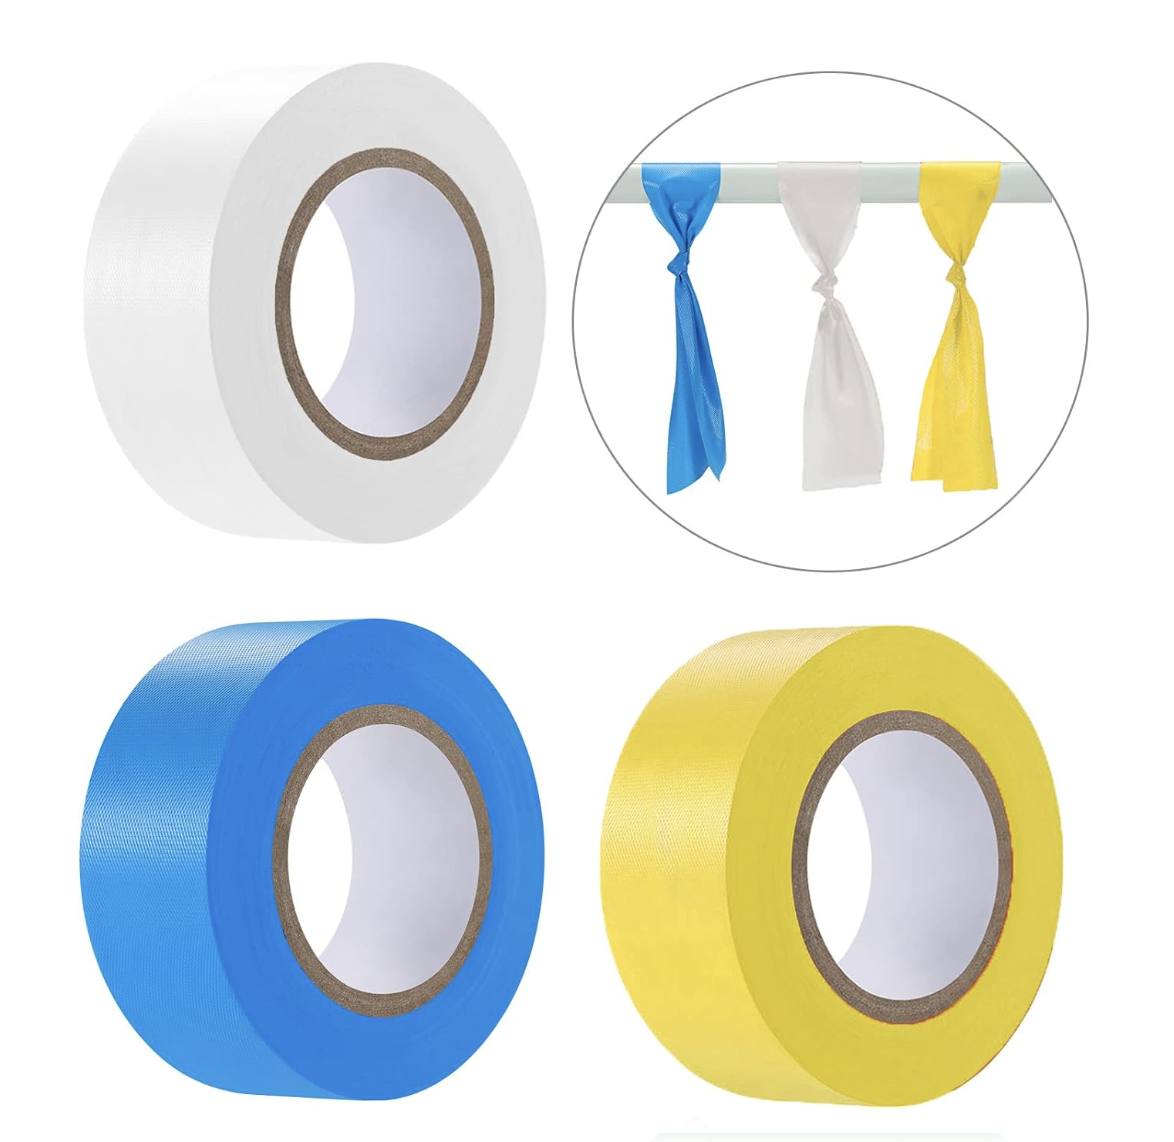
Make sure all your plants are labeled. I write the variety name in Sharpie on flagger’s tape and attach the tape to the plant with clothespins. I learned this trick from Paul Bloomquist of the Bloomquist line of dahlias.
If you have a lot of dahlias, and some are more rare or hard to come by, plan out your sequence. I dig, wash, dry, divide, cure, and store each variety individually. Other people prefer to do all the digging at once, all the washing at once, and so on, but this doesn’t work for me as the opportunity to muddle tubers up is greater when working in large batches, and — as I am always juggling my farm life with my health — if I have any health issues mid-process, all are lost. I tend to my hard-to-find/expensive dahlias first and do the common ones last, so that if I run out of steam, I’ve got the most important ones tucked away.
Plan out your washing station. I use a large dog kennel on it’s side as it is the right height for me. I set it up in my dahlia bed, so all the dirt just goes back into the beds. Make sure you have a good nozzle on your hose that is easy to turn off and on.
Use a dog kennel on its side as as dahlia tuber washing station.
Plan out your drying station. After washing, the tubers need to dry off before being stored. Where is this going to happen? At my house, the dahlias are put into tubs like this and set to dry in my storage shed for a few days.

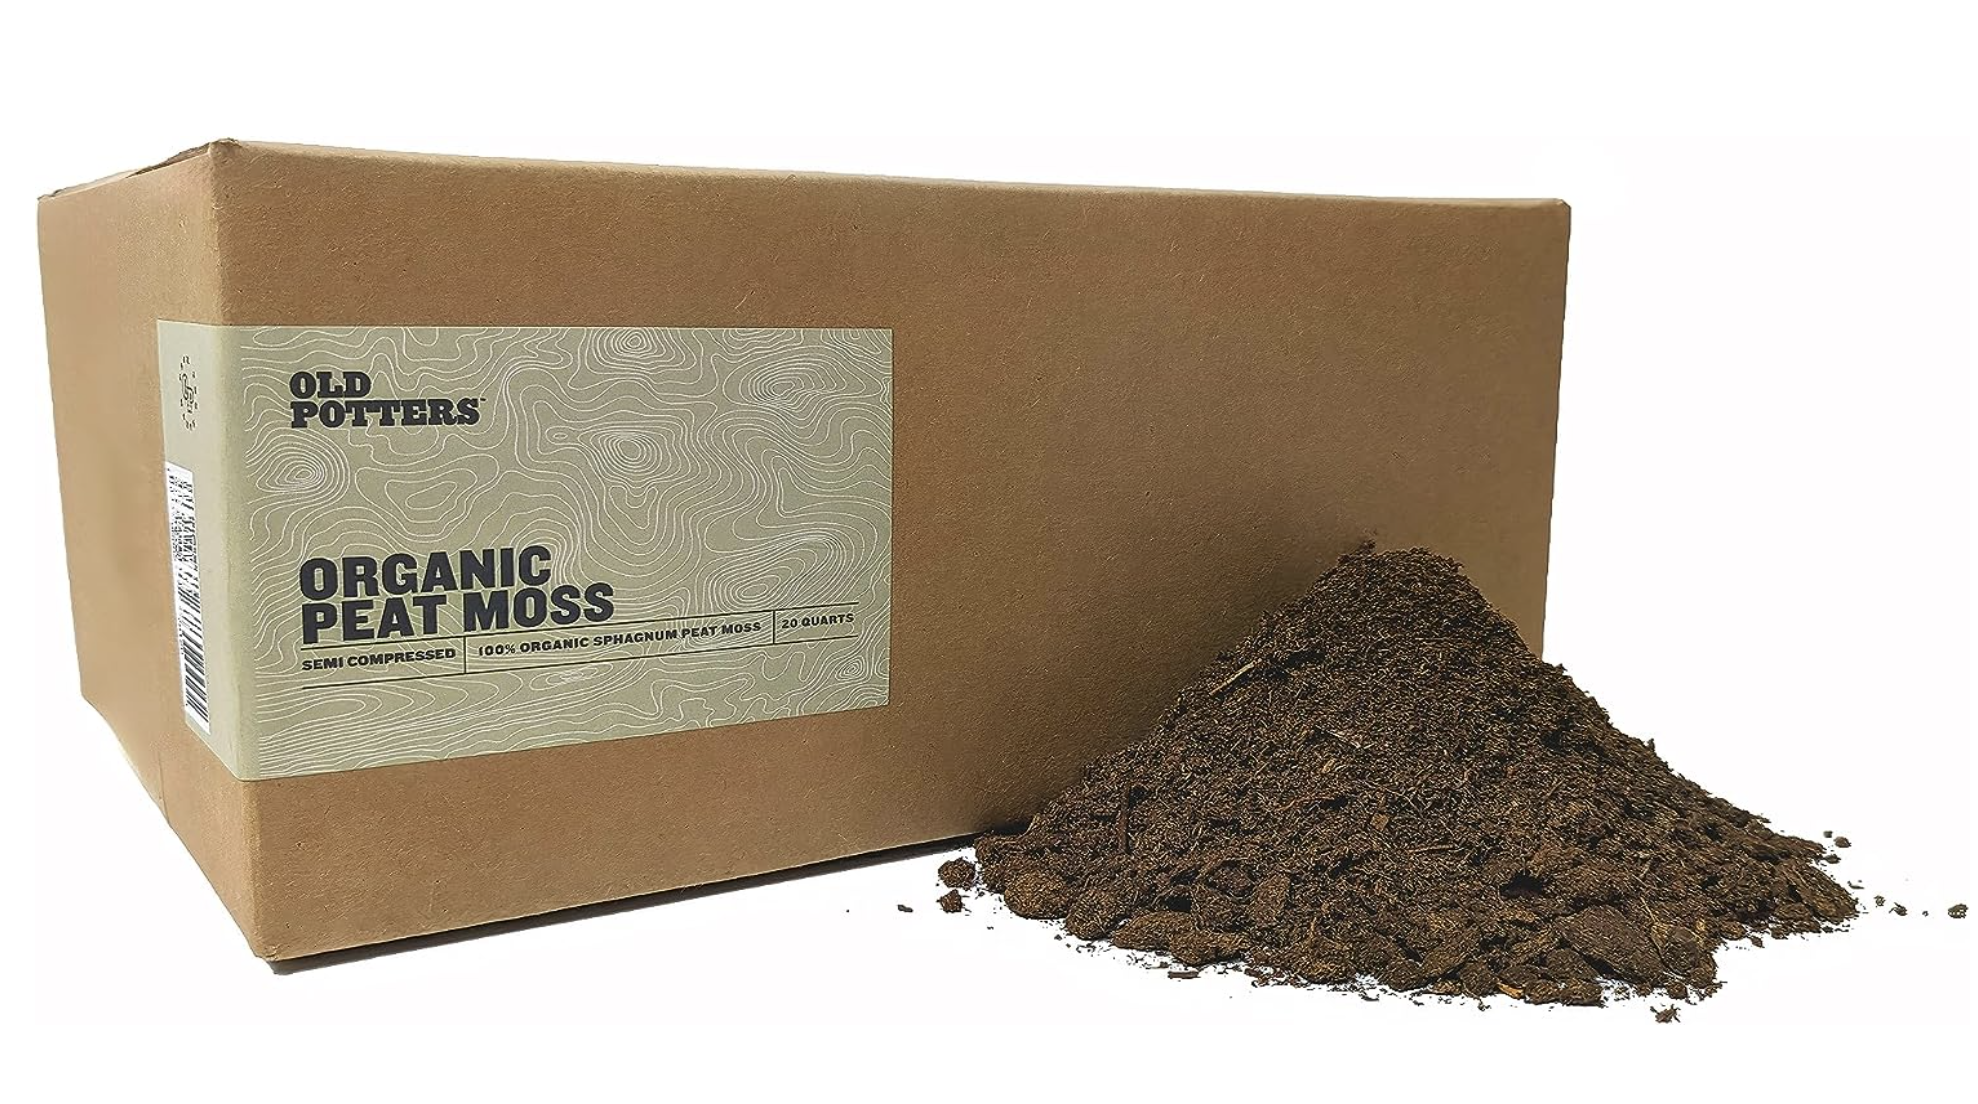
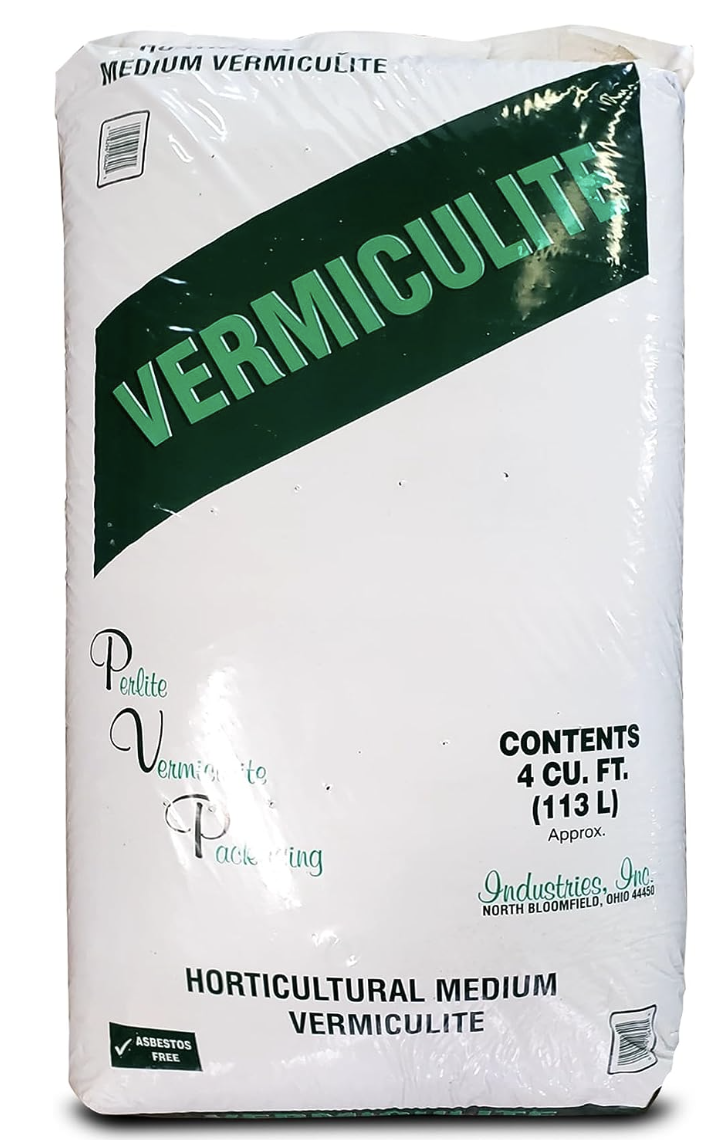
Gather your storage materials. Some people store in peat moss or vermiculite or cedar shavings or pine shavings. Many people add cinnamon — a natural antimicrobial — to whatever medium they use.
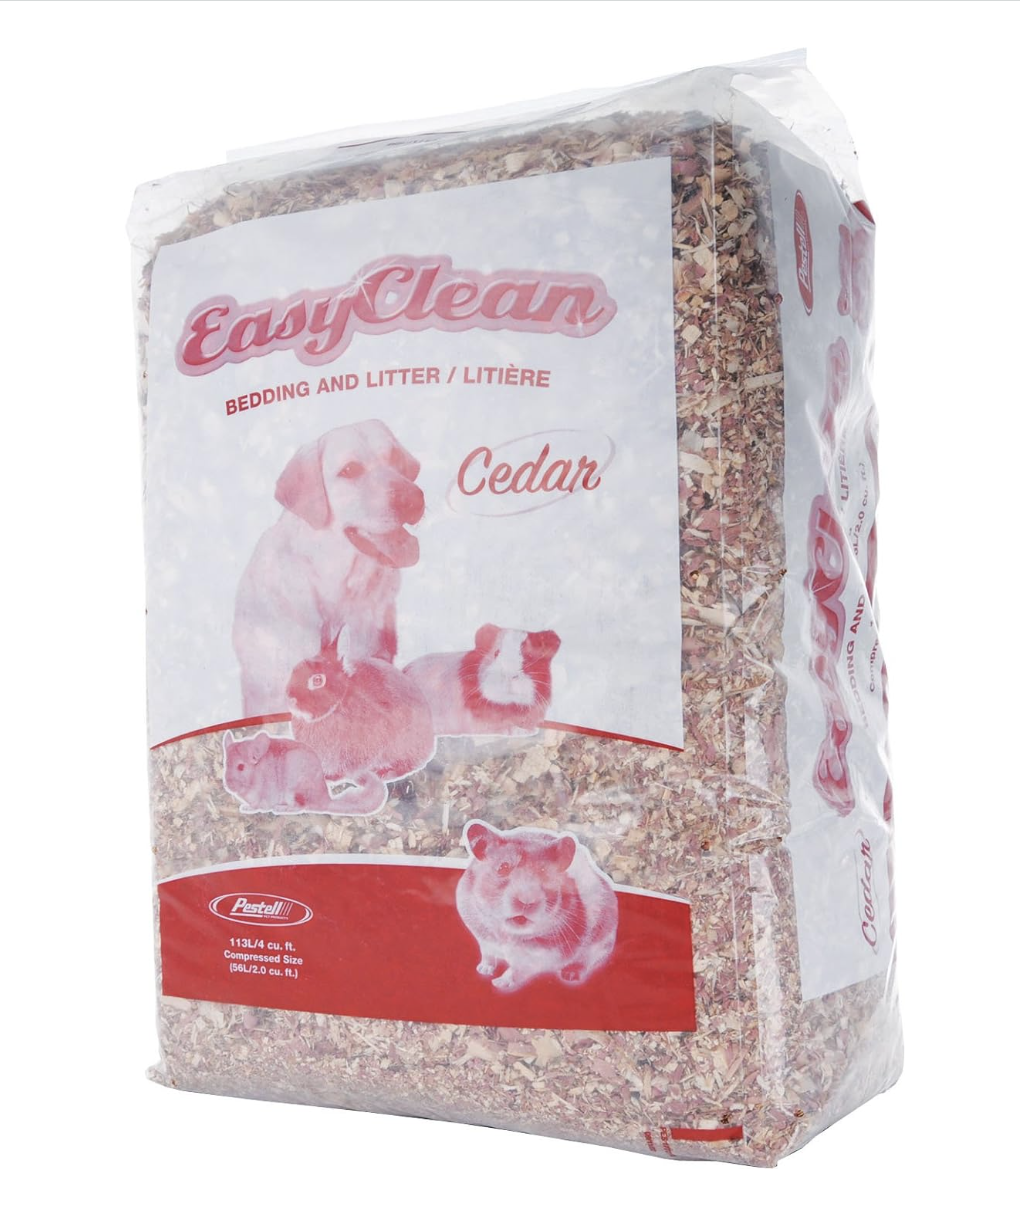
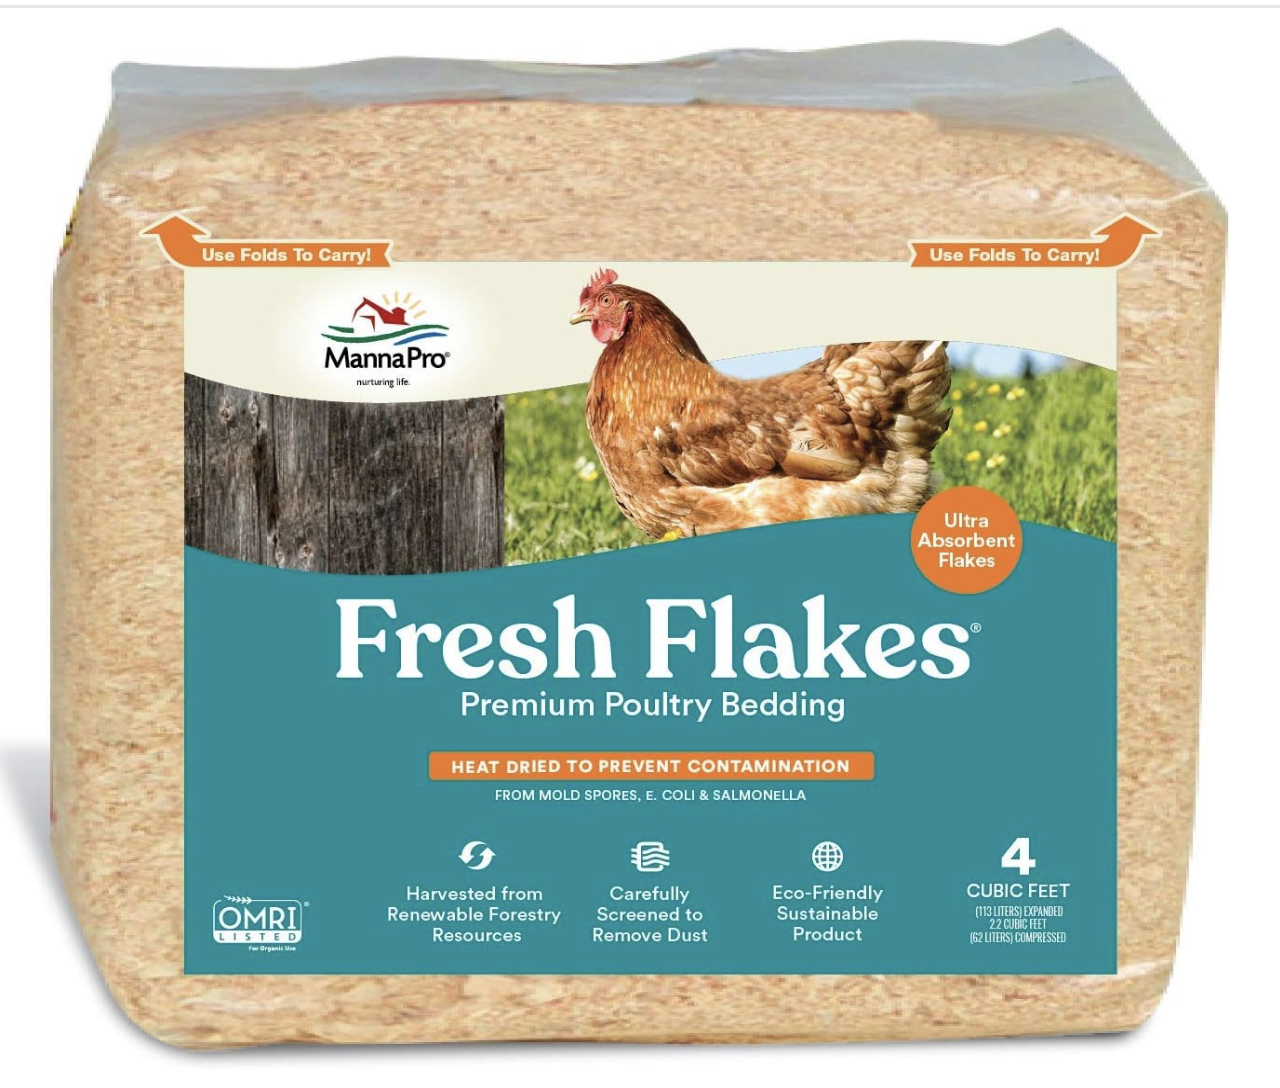
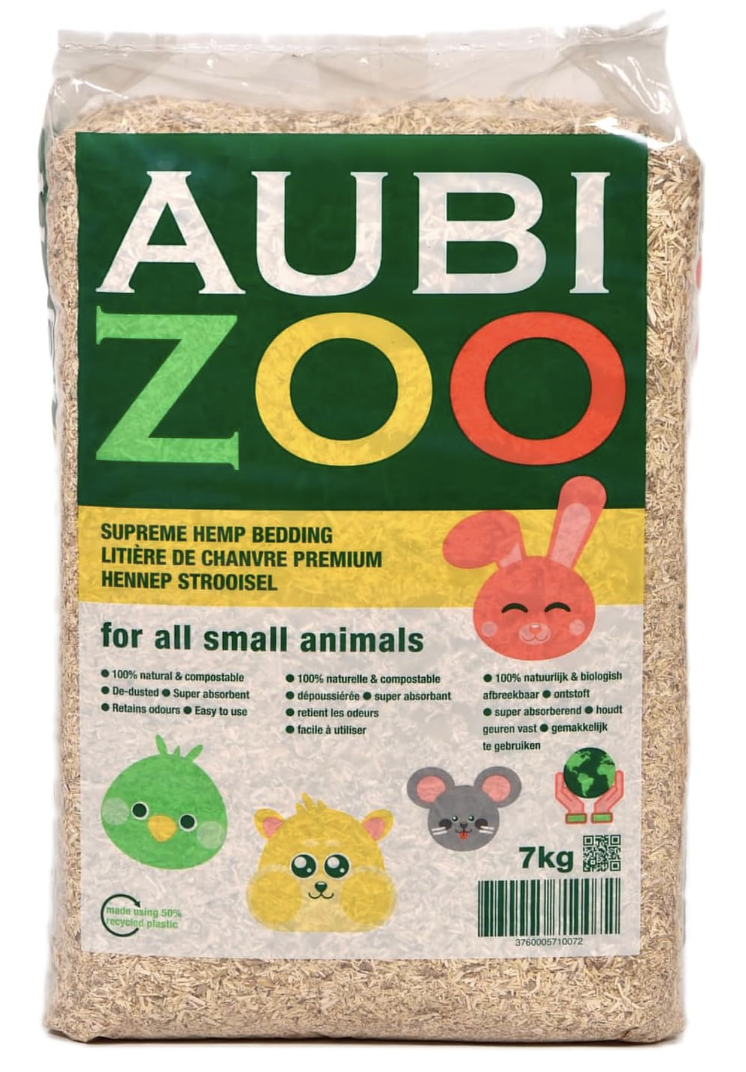
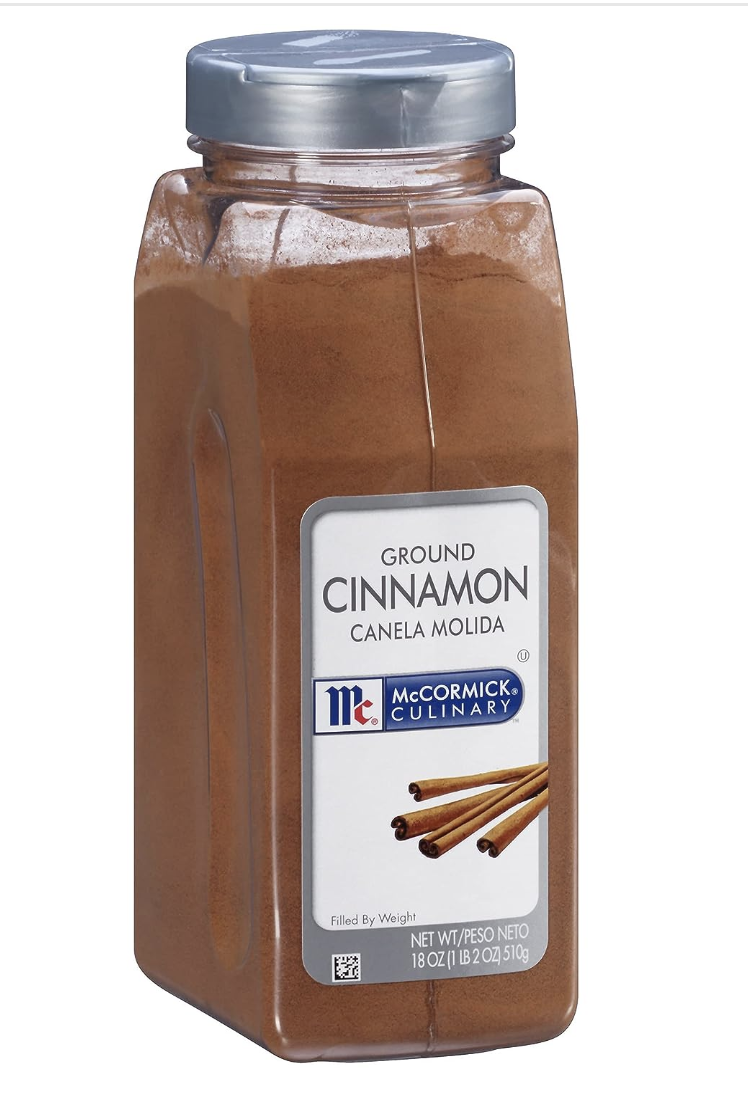
Last year I stored in cedar shavings per Paul Bloomquist, and then discovered in the spring that I am really quite allergic to cedar shavings. This year I am storing half of each clump in pine shavings and cinnamon and the other half in hemp and cinnamon as an experiment. So I need to stock up on bulk cinnamon, pine shavings, and hemp.
What are you going to put your tubers and your storage medium in? Some people use plastic shoeboxes, I share what I use in the Storing Dahlia Tubers section, below.

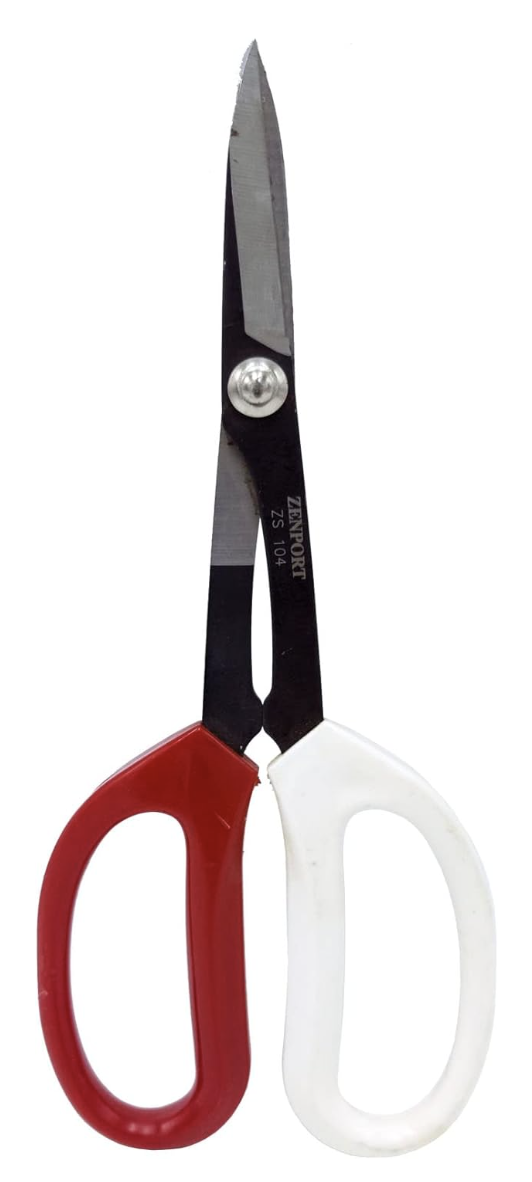
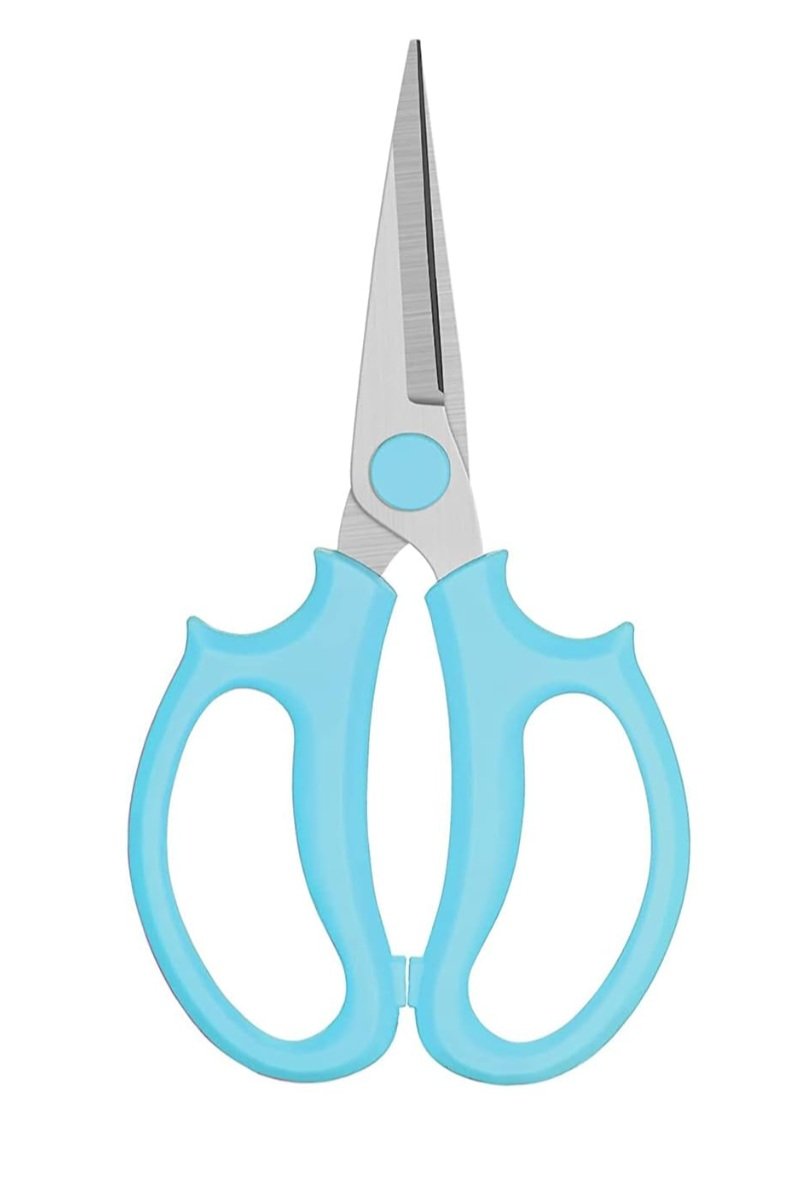
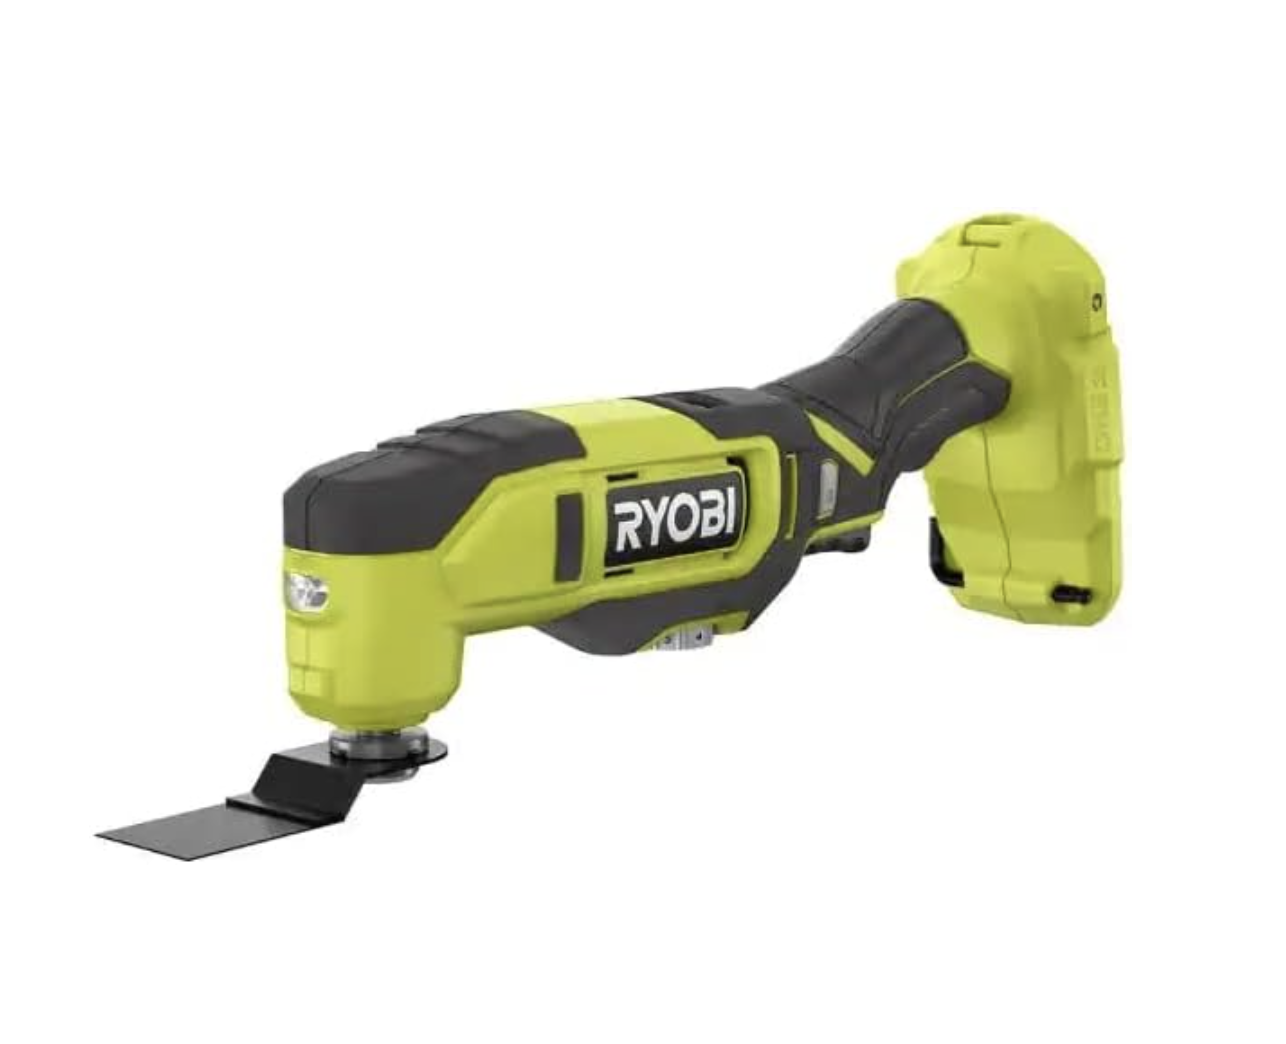
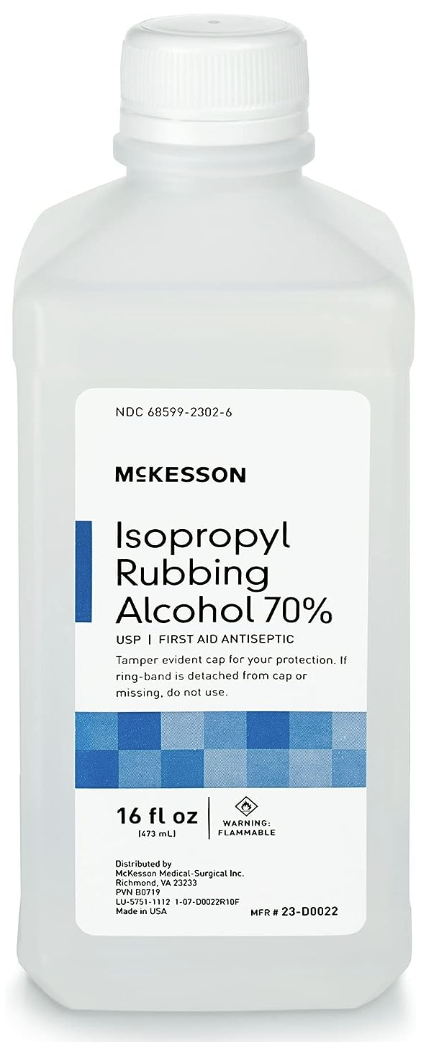
Are you going to divide your clumps right away? If so, time to sharpen or replace your snips. I like the 8-inch Zenport Garden Scissors, my sister swears by these smaller Garden Scissors. If you are going to divide them later, you should at minimum cut each clump in half to reduce the chances of rot. For this job, I rely on my multi-tool, the oscillating blade makes quick work of even the gnarliest clumps. And because you are going to want to sanitize your tools between clumps, don’t forget the rubbing alcohol.
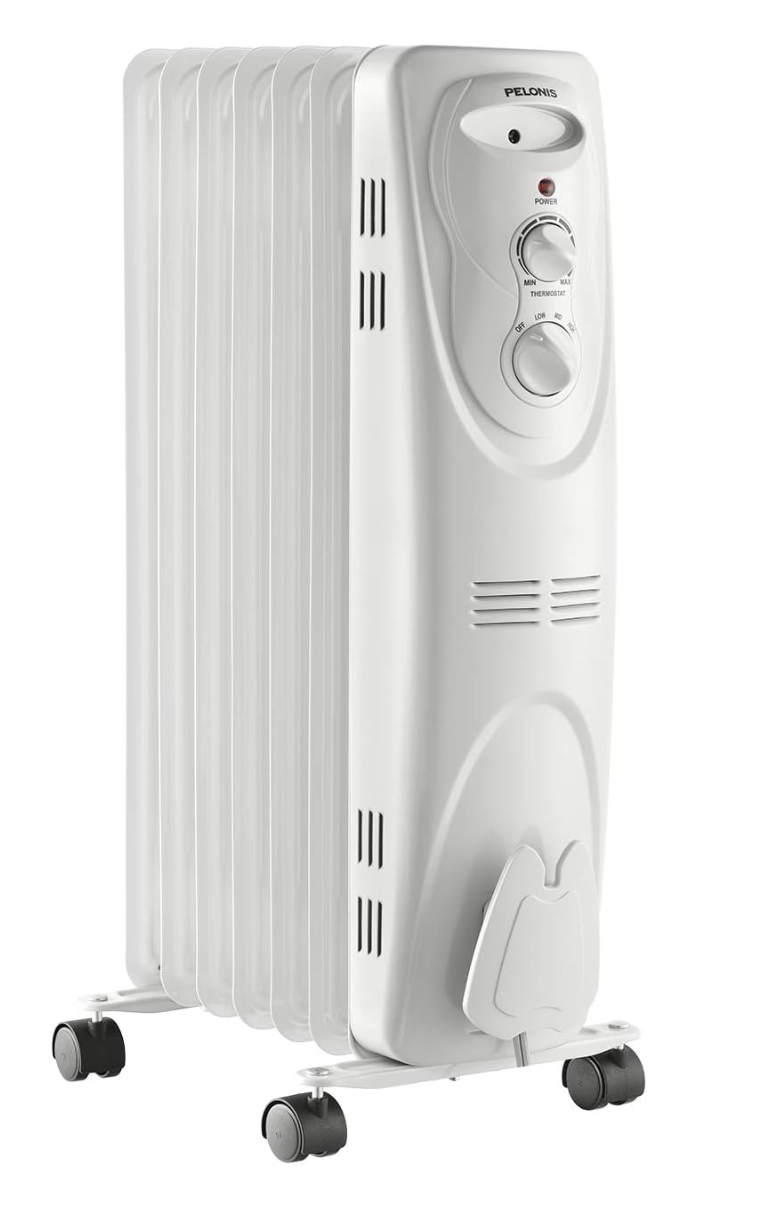
Prepare your storage space. The ideal temperature for storing dahlias is between 38 degrees and 50 degrees Fahrenheit and around 75% humidity. I use the Inkbird Dual-Outlet Thermostat to turn the heat on and off in my storage shed. I can set it to release power to the heaters when it dips below 45 and to turn the power off when it is above 50. And because I like to have a safety net, I run two oil-filled heaters off this. Each heater runs half as long, but if one heater dies, the other will — I hope — save us.

For a long time I just stacked my storage bins on top of each other, but when it was time to check the dahlias, I got lazy and only checked the ones on the top of the stacks. This year, all the tubs are going onto shelves so that I can easily access each tub for spot-checks. If you have a lot of tubers to store, consider shelving.
Once all the above is arranged for, there is nothing to do but wait. I just carry on with pictures and bouquets and wait for the first killing frost. If I get antsy I can move the plant labels down to the base of the plant which saves having to do it on a colder day.
First Frost
After the first killing frost, I verify that each stalk has a label and then I cut off all the dead foliage — leaving about 8 inches to serve as a handle — then cover the beds loosely with cardboard and wait some more: two weeks more. It’s hard to wait as it just gets colder and colder for outside work, but the tubers do so much better with a two-week cold spell. It tells them it is time to settle down for winter.
Cutting down the dahlia plants after first frost.
Digging Dahila Tubers
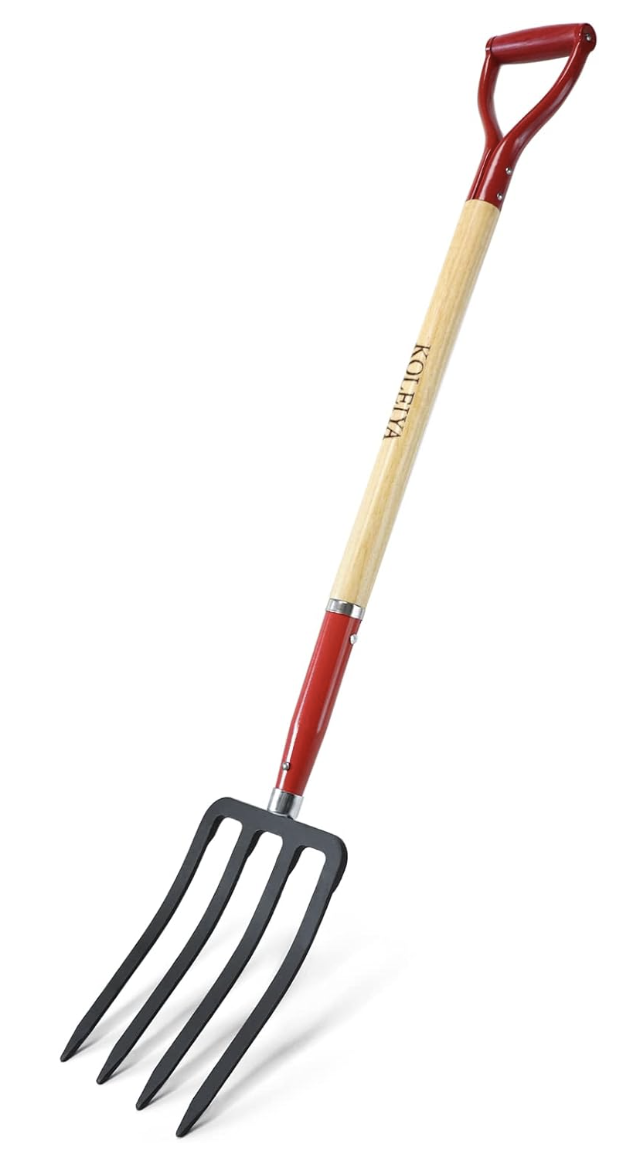
Starting with my most highly-prized varieties, I poke my garden fork in about 8 inches away from the stalk, grip the stalk with the other hand, and gently pull/lift the tubers out. The clump goes straight into the tub, with its label clothes-pinned to it. Since I plant four tubers in a hole, I pull out four clumps. Paul Bloomquist recommends a clam shovel which I haven’t tried yet, but want to.
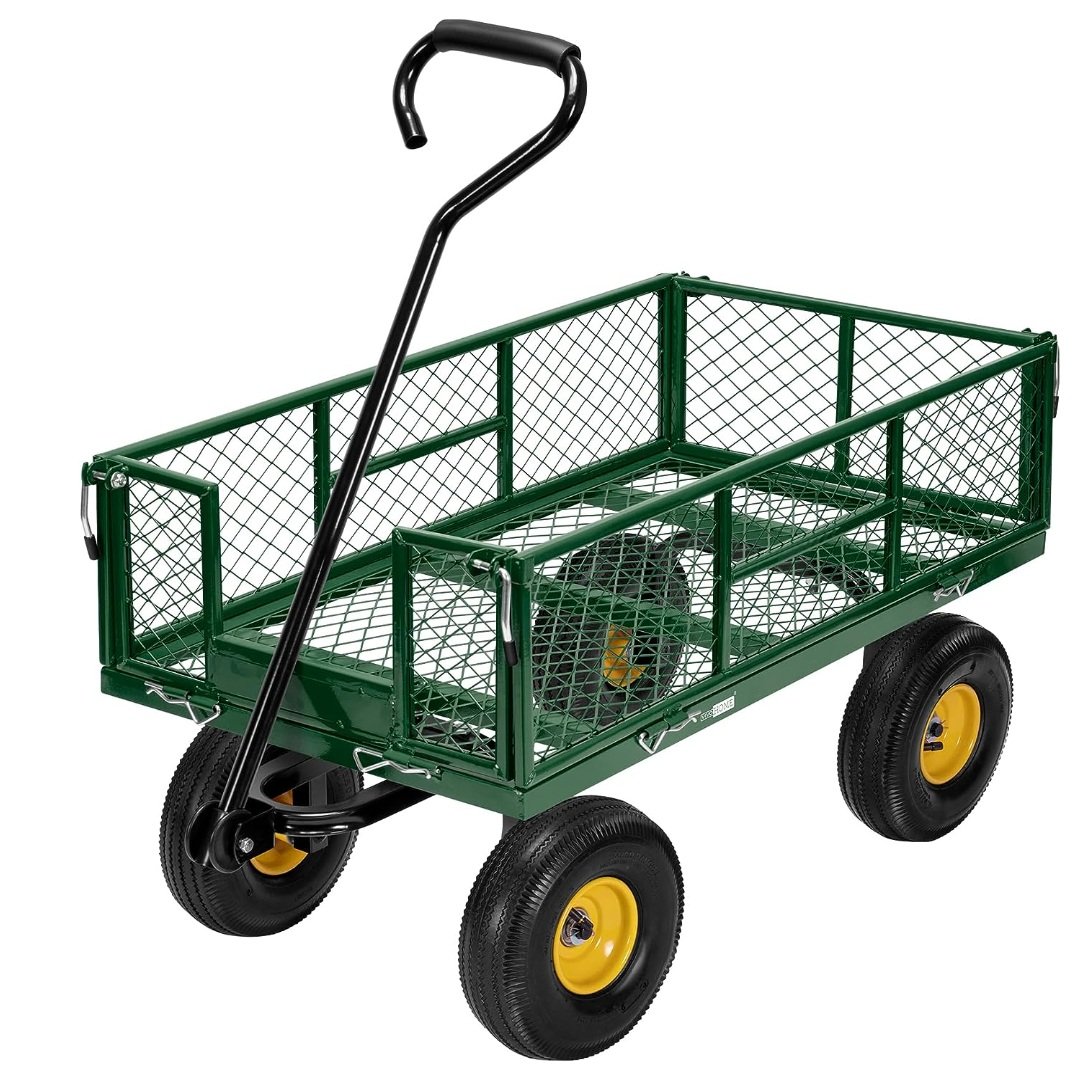
I then wash the clumps off, put them back into their tub, and schlep them over to the storage shed. A good garden cart is super helpful at this point. I can either go on to dig and wash the next variety, or I can divide these and leave them to cure. Depending on the day’s weather, the weather forecast, my energy, and the space in the shed, I may go either way.
Dividing Dahlia Tubers
Since the tubers are freshly bathed, and because they just spent two weeks chillaxing in the garden, the eyes are easy to see, so if I have the time and energy, I start dividing them now. There is already so much information on dividing tubers on the internet, I am not going to go into that, other than to say I divide them, dip their cut ends into cinnamon (a natural antimicrobial) and leave them to cure for a day or so. I just need the cut end to be dry before bagging them up.
Storing Dahlia Tubers
If you are storing clumps, make sure to pop them in stalk side down to let any residual moisture drain away. Failure to do so increases your chances of rotten tubers.
If you have divided and cured your tubers, you can just toss them into your storage container and add your storage medium and your label, and you are done.
Either way, we use the short wide grocery bags in which our local grocery store sends our curbside pick-up groceries as our storage containers, clipping the label to the bag with a clothespin. The bags receive equal parts tuber and storage medium and are set back into the tubs, with the top of the bags spread open for air circulation. The tubs are then stacked on their shelves in the shed and left to over-winter.
Cautionary Moves
We do have a generator on hand to supply power to the shed heaters if we have an outage, and as the shed is connected to my chicken runs, I do get in there on the regular to check on the bins.