Incubation & Hatching Tips: LockDown & Hatching
So, in the last article, Incubation & Hatching Tips: Incubating, we left off after candling the Day 18 eggs for LockDown. So let’s start there.
This article will cover:
LockDown Hatching Eggs
Hatchers & Humidity Pump Recommendations
Rechargable Temperature and Humidity Sensor
Hatching Bags
Hatching Day at Last
Opening the Hatcher
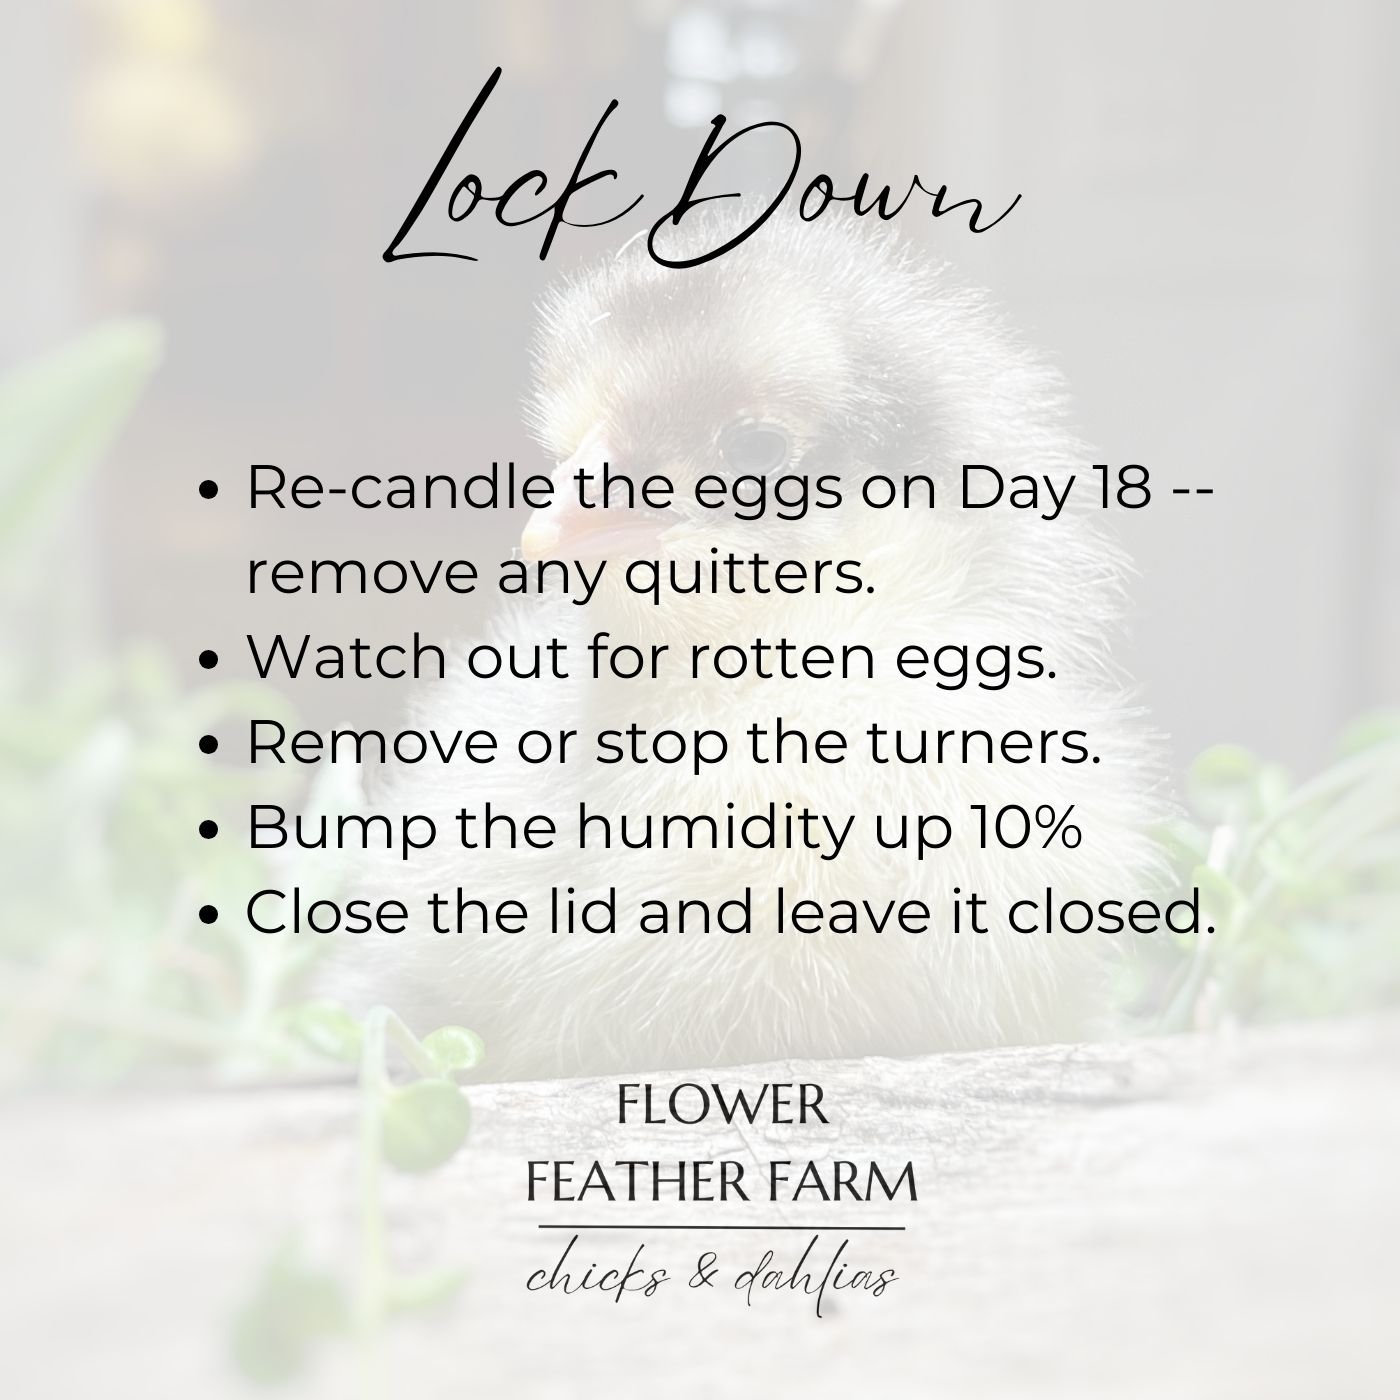
LockDown Hatching Eggs
Lockdown refers to the period of time between the 18th day and hatch. We remove the eggs from the turners, adjust the humidity, and then leave them alone until they are done hatching.
Every Friday during Hatching Season
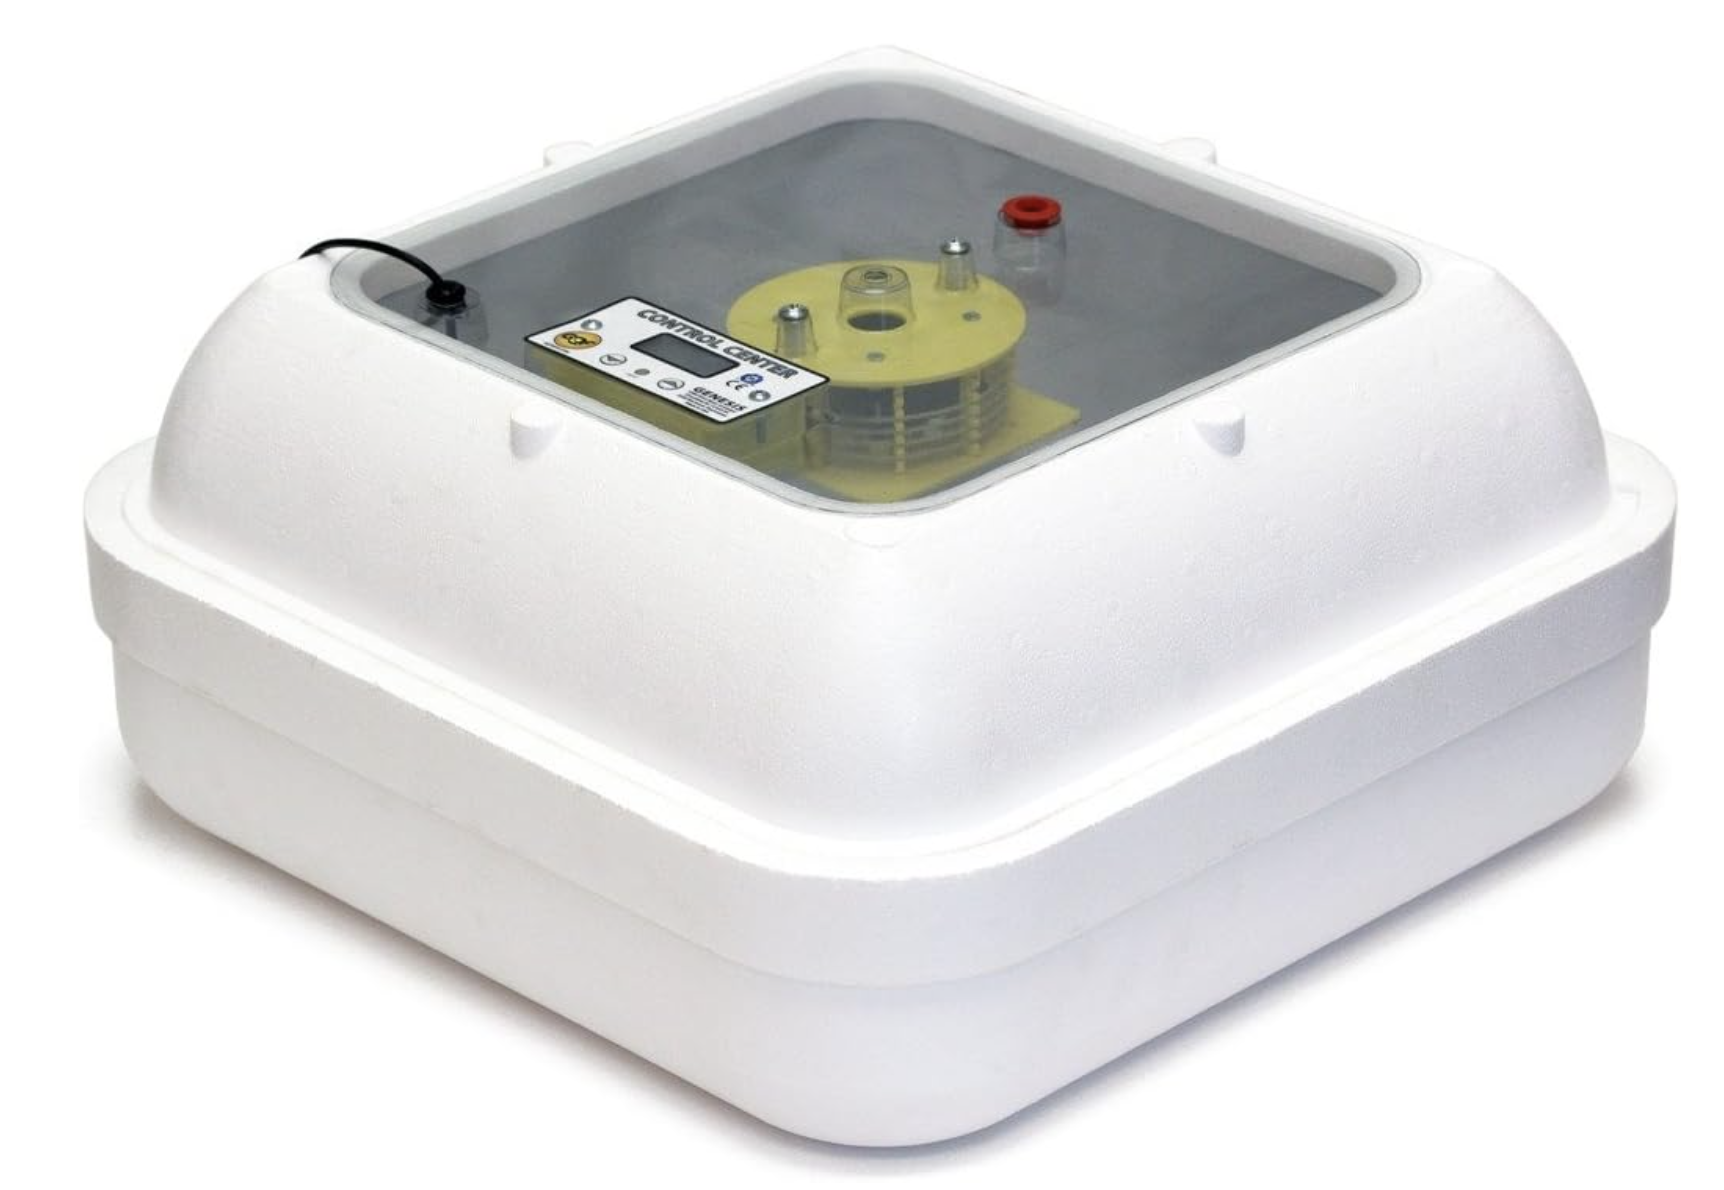
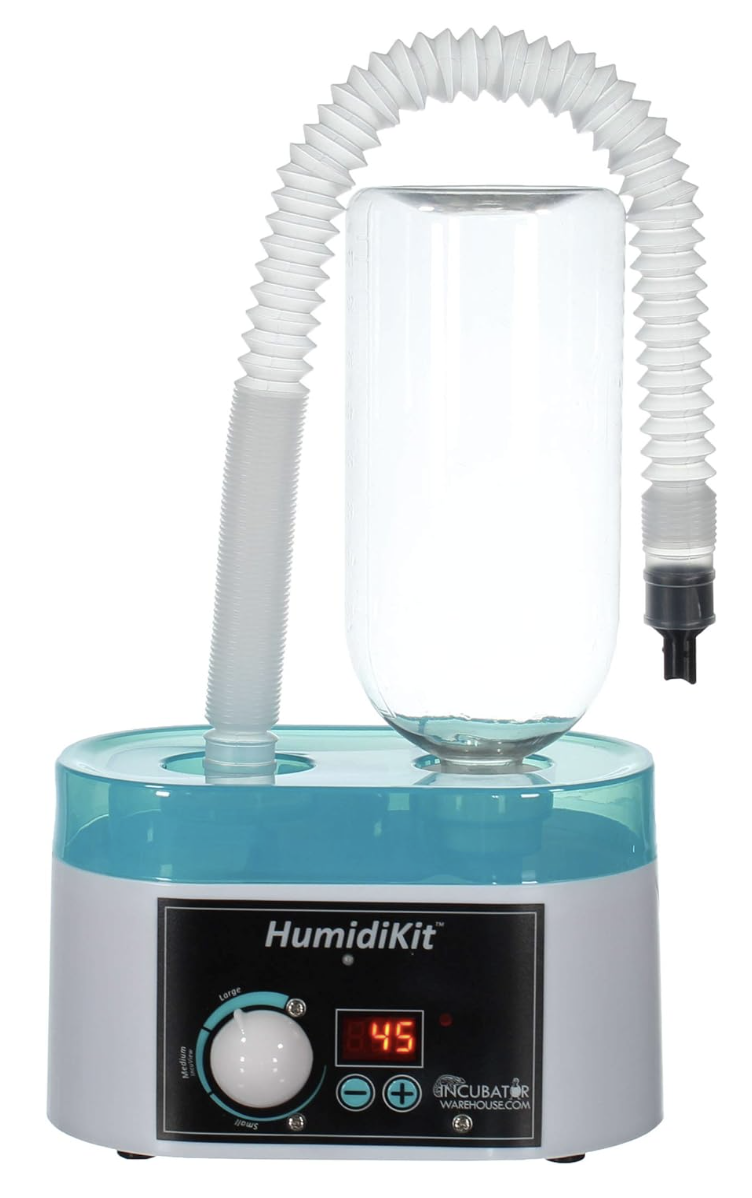
On Friday mornings, prior to candling, I plug in my hatchers and get them up to 99.5 °F and 65% humidity (or for brown eggs, 55% humidity). To verify that the I use the Genesis Hovabator 1588 and the HumidiKit Humidity System, one set for every 50 eggs.
Prior to discovering the HumidiKit, I used a syringe and a straw. See where the red vent cover is in the picture of the Hovabator below? Take that out and either hook up your HumidiKit there, or insert a straw and use a syringe to add water to the plastic tray on the bottom.
Because hatchers can wear out, and mine do get continuous use, I do keep an independent temperature and humidity sensor in the hatchers. I prefer the one pictured below as it is rechargable (I am so weary of batteries) and I can connect it to the app and set it to alert me if either the temperature or the humidity is out of bounds.

Why do I use separate hatchers? Three reasons:
Timing: If I am running on a three week cycle, and I keep them all in the incubators, the out-going hatch is going to be in the way of the new setting. That is, they are supposed to hatch on Monday of week three, and I am also supposed to set the new batch on Mondays. As some will, of course, hatch late, that is not going to work.
Cleaning: My incubators are a pain to clean. The cabinets are the least annoying, but the table-top incubators are a right pain.
Viewing: I get a much better view of the babies in my table-top hatchers than I could in my cabinet incubators.
Hatching Bags
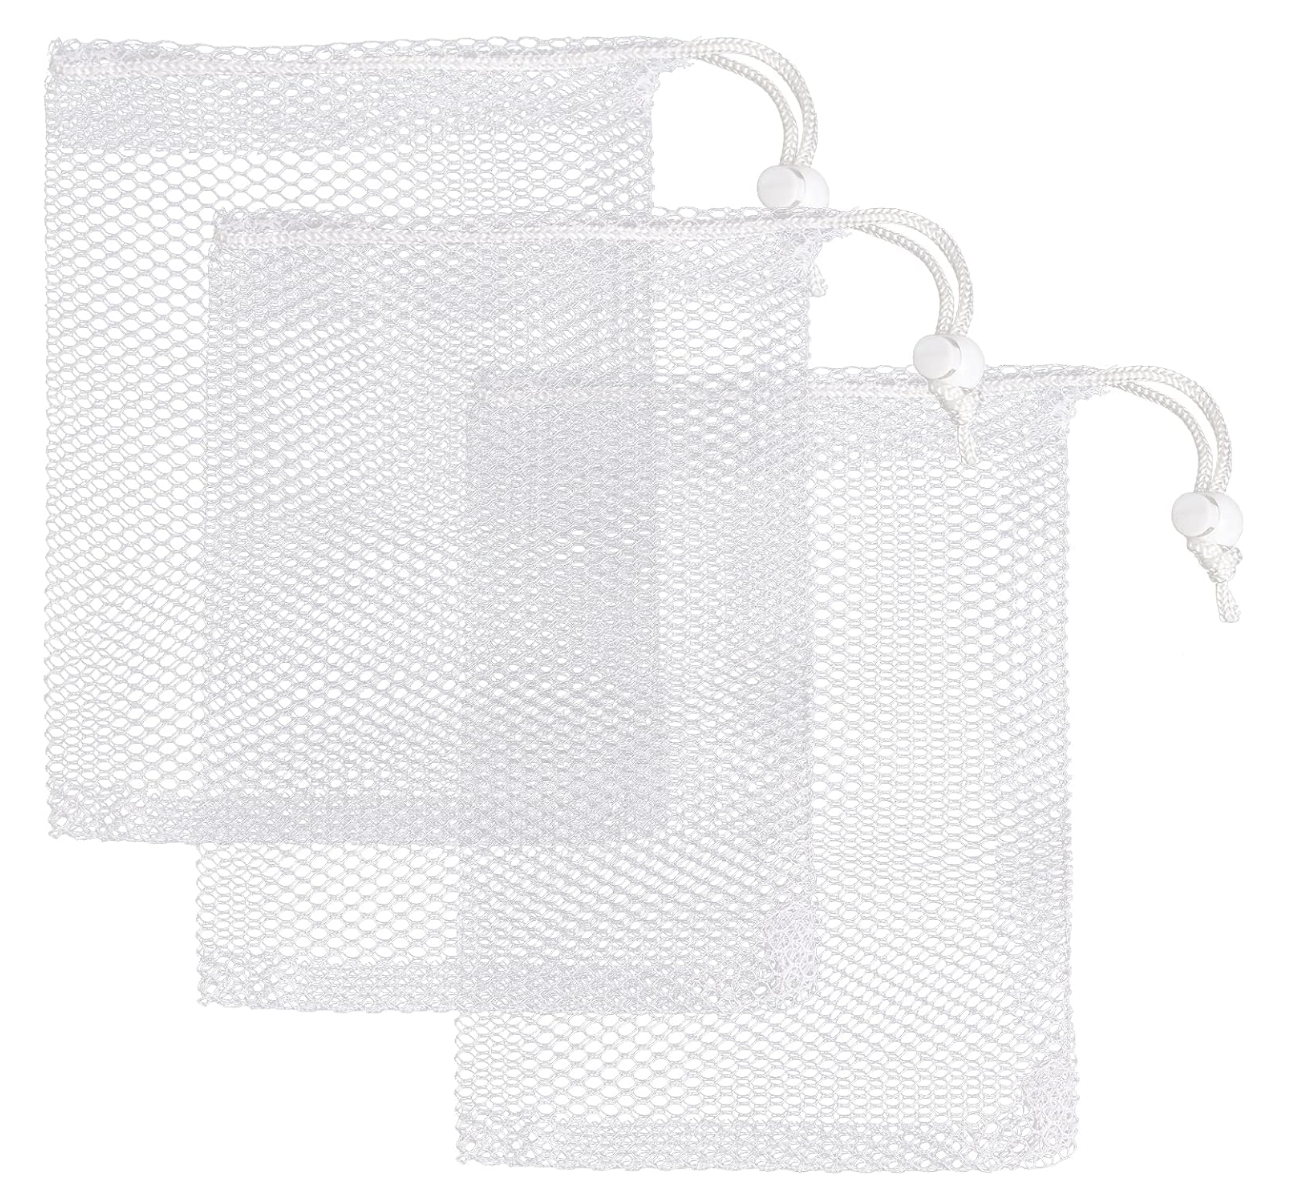
When the temperature and humidity are correct, I move forward with the candling (see previous article: Incubating Tips) and start to put the eggs into the hatchers. Because I am hatching a variety of breeds per batch, it’s important to keep the chicks separate. For this, I use mesh hatching bags. I tried so many, and these were the keepers. They are sheer enough that I can see what is going on, and the toggle clasp is easier to work with than a zipper.
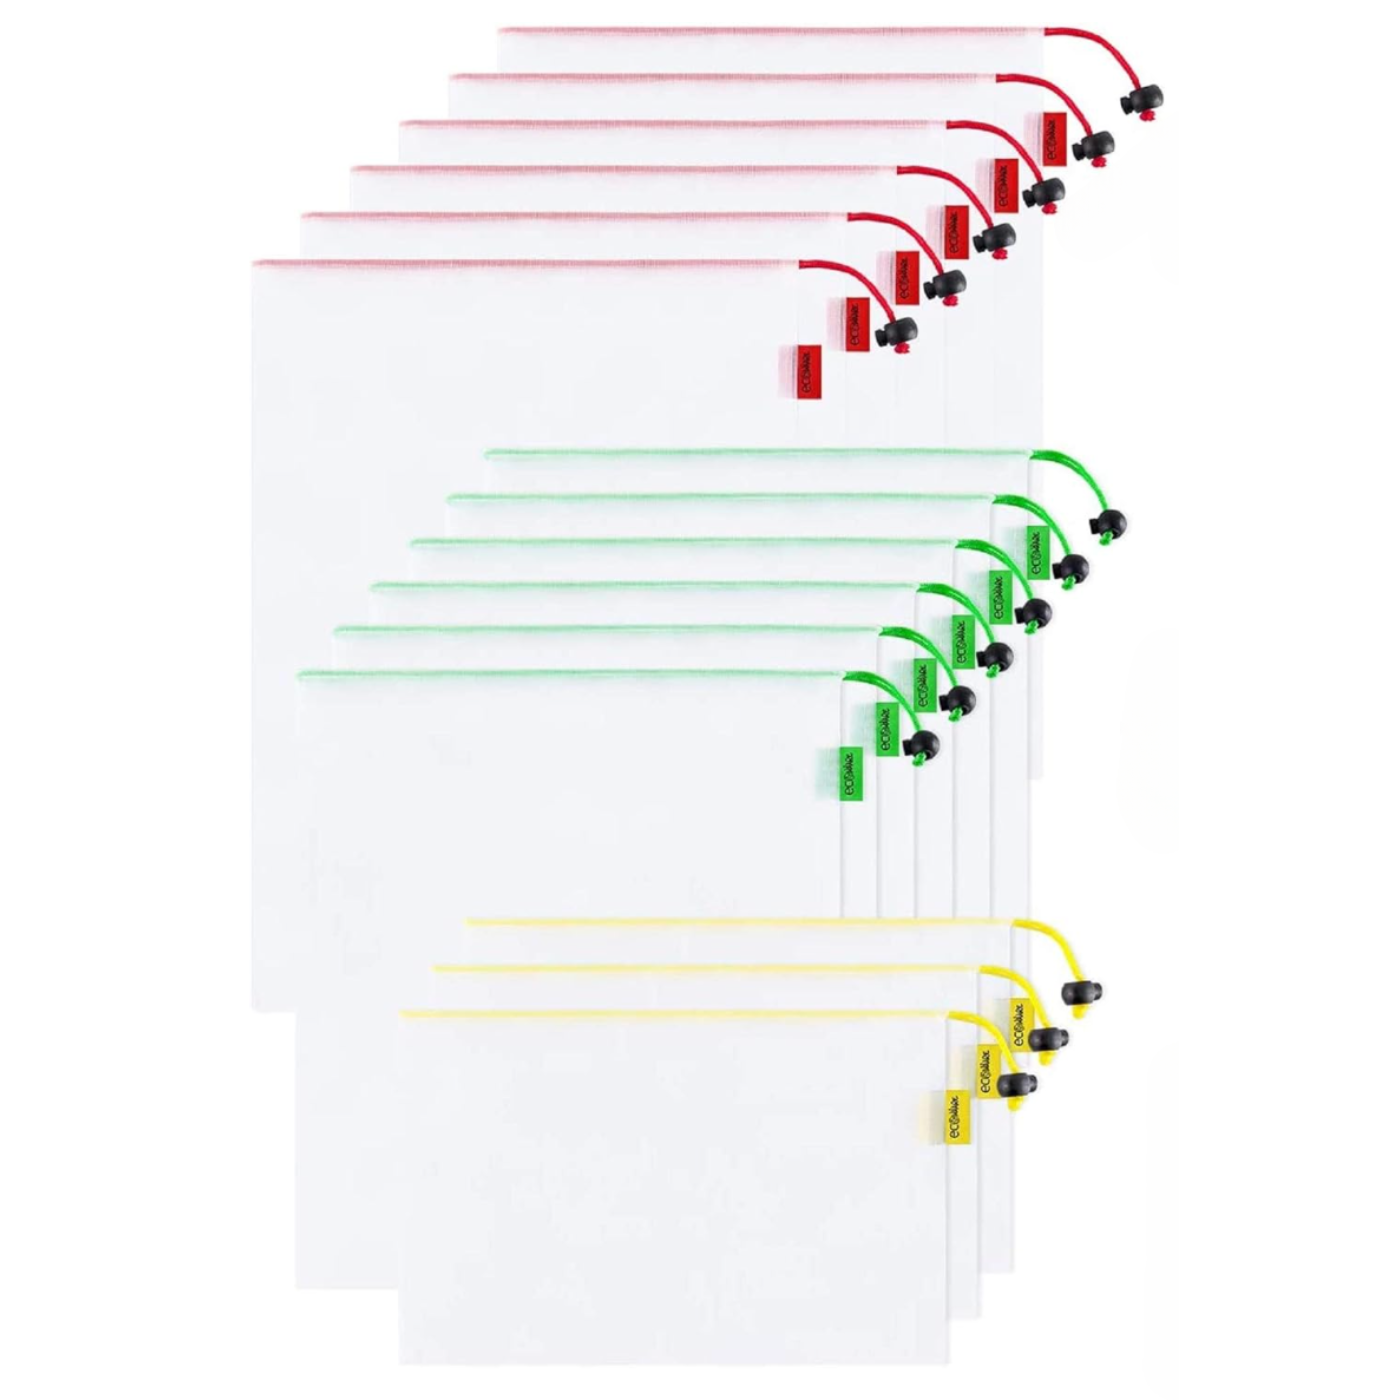
Jubilee Orpington Hatching Eggs ready for the Hatcher
I take care, when I set them in, to not set them directly under wherever the water is going to be added. Also, I leave the part of the bag with the opening hanging out of the side of the hatcher so that, three days hence, I can more quickly slip my hand into the bag and into the hatcher to swoop out any fluffy chicks that are ready to go. More on this later.
Flooring
The Genesis Hovabator 1588 that I use comes with a grid floor that the chickies can safely walk on without slipping. If you are using some other system, make sure you have something with gription (mesh, old towels, grippy sink mat, rough cardboard) in place in the bottom of your hatcher. If you don’t a chick can slip and do the splits and won’t have the strength to get her legs back under her. You will have to intervene (more on this later).
Hatching Day At Last
Every Monday during Hatching Season
On Mondays, I sit on my hands. I do not help. It’s so hard. We peek in, chickie looks like she is stuck (she’s not), we want to help, we really really do, but we mustn’t.
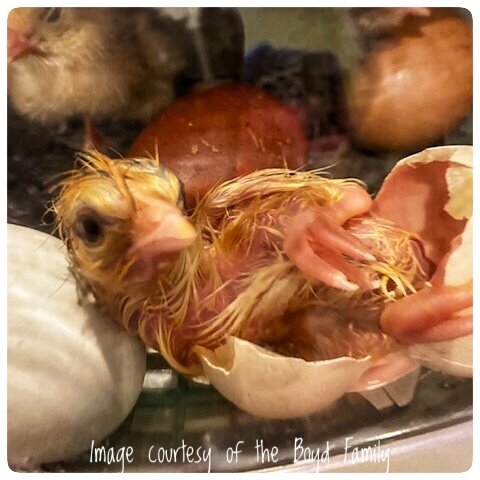
Here are the stages of hatching, which can occur anywhere between 19 and 24 days:
Absorbing the Yolk: I always thought the chick formed in the yolk. Nope. She forms in the egg white. The yolk is her energypack for hatching. In the last few days before hatching, she will absorb the yolk into her body and all the exterior (to her) blood vessels will disappear.
Internal Pip: Chickie will break through the membrane separating her from her air cell. She will breath air for the first time. You will not know that this has happened unless you take the egg out and candle it, but you are not going to do that as it will probably kill her.
External Pip: Chickie will break a small crack in the egg shell and eventually a small hole. Now she has fresh air and probably needs a nap after all that work. She is not stuck. She is resting up.
From pip to hatch can be 20 minutes, or 24 hours.
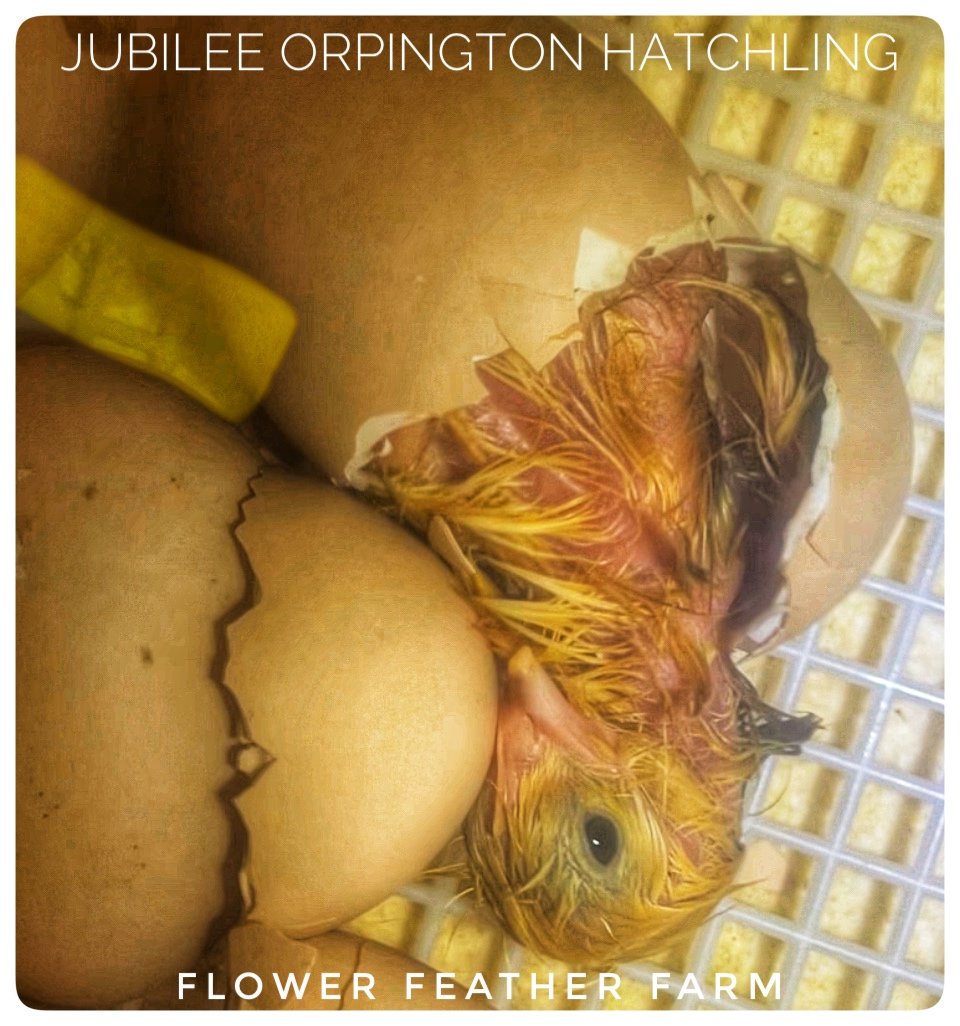
Zipping: Chickie will, with her tiny little wings and feet, spin and peck, spin and peck, creating a little perforated line in the top 1/3 of the egg. She may stop multiple times for naps.
Watch the pipping and zipping while the baby chicks hatch.
Hatch: When she has broken through all the way around, she is ready to hatch. DO NOT HELP! She needs to push with her legs to bust through the top. The action of pushing strengthens her leg muscles and most importantly, aligns her hips under her. Without the aligning and strengthening of the push, she will struggle once she is out.
If you reach in and pull the top off the egg because (let’s be honest) you want the gratification of seeing her right this minute, you can make her a cripple and have to cull her later.
That’s it. That is all I do on Mondays. I do not open the hatcher. Not once. Not even for a second.
While we wait for Tuesday, I’d like you to consider that if you are going to “help” anyway, be sure you know how to cull. If a chick can’t get out of the egg, and you help it out, and it is deformed or disabled such that it is not going to thrive, you need to be able to give it the merciful end. Letting a poorly-made chick die of thirst or starvation or being trampled to death is not an option. If you take on the responsibility of hatching, and especially if you “help” you take on the responsibility of euthanizing. Further reading.
Opening the Hatcher
Every Tuesday of Hatching Season
Best day of the week. Most of the chicks have hatched and are ready to get out of the hatcher.
Because the HovaBator 1588 is shaped sort of like a well, the chicks are below the lid. I can crack the lid and swoop in once every twelve hours and grab out whomever has hatched without blasting the remaining eggs with cooler and dryer air as I would in a hatcher in which the top sits on the base at egg level, ie the NurtureRIght or one that has me opening the whole front door, like a cabinet.
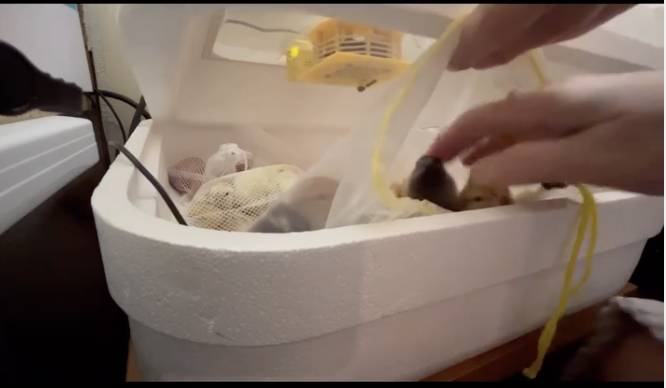
I run the humidity up to 75% and then I swoop, see below. Then I don’t open it again for another 12 hours.
I swoop on Tuesday (Day 22) mornings and evenings, and again on Wednesday mornings. Then we clean the hatchers and get them ready for Friday LockDown for the next batch.
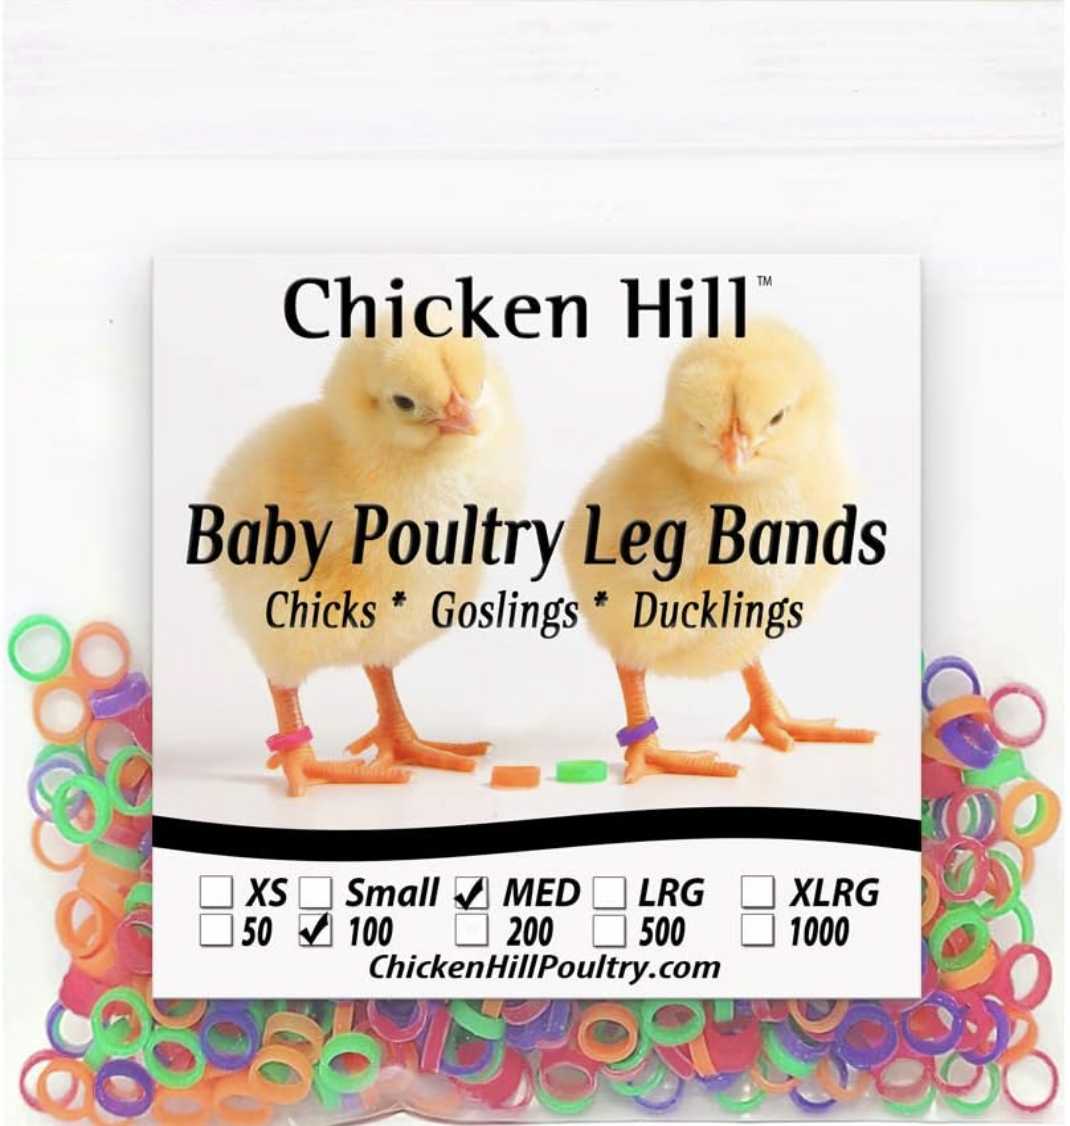
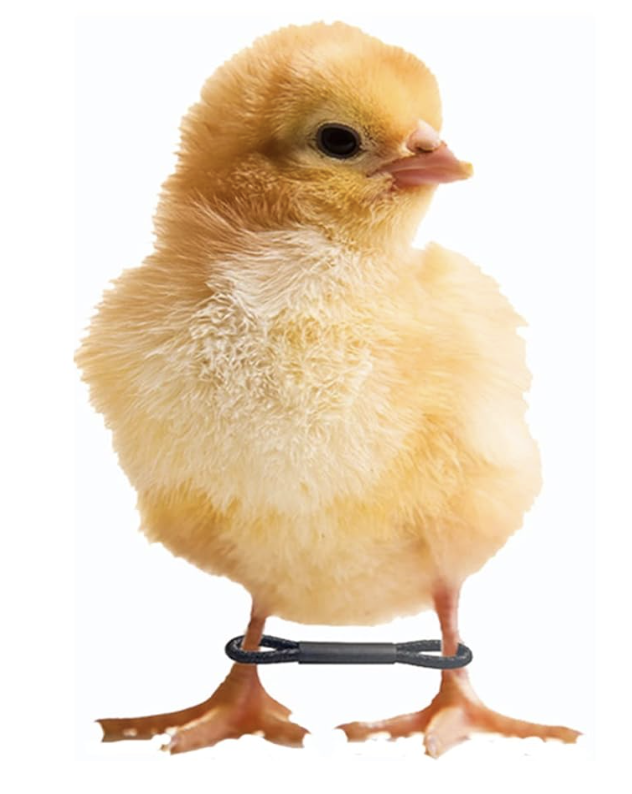
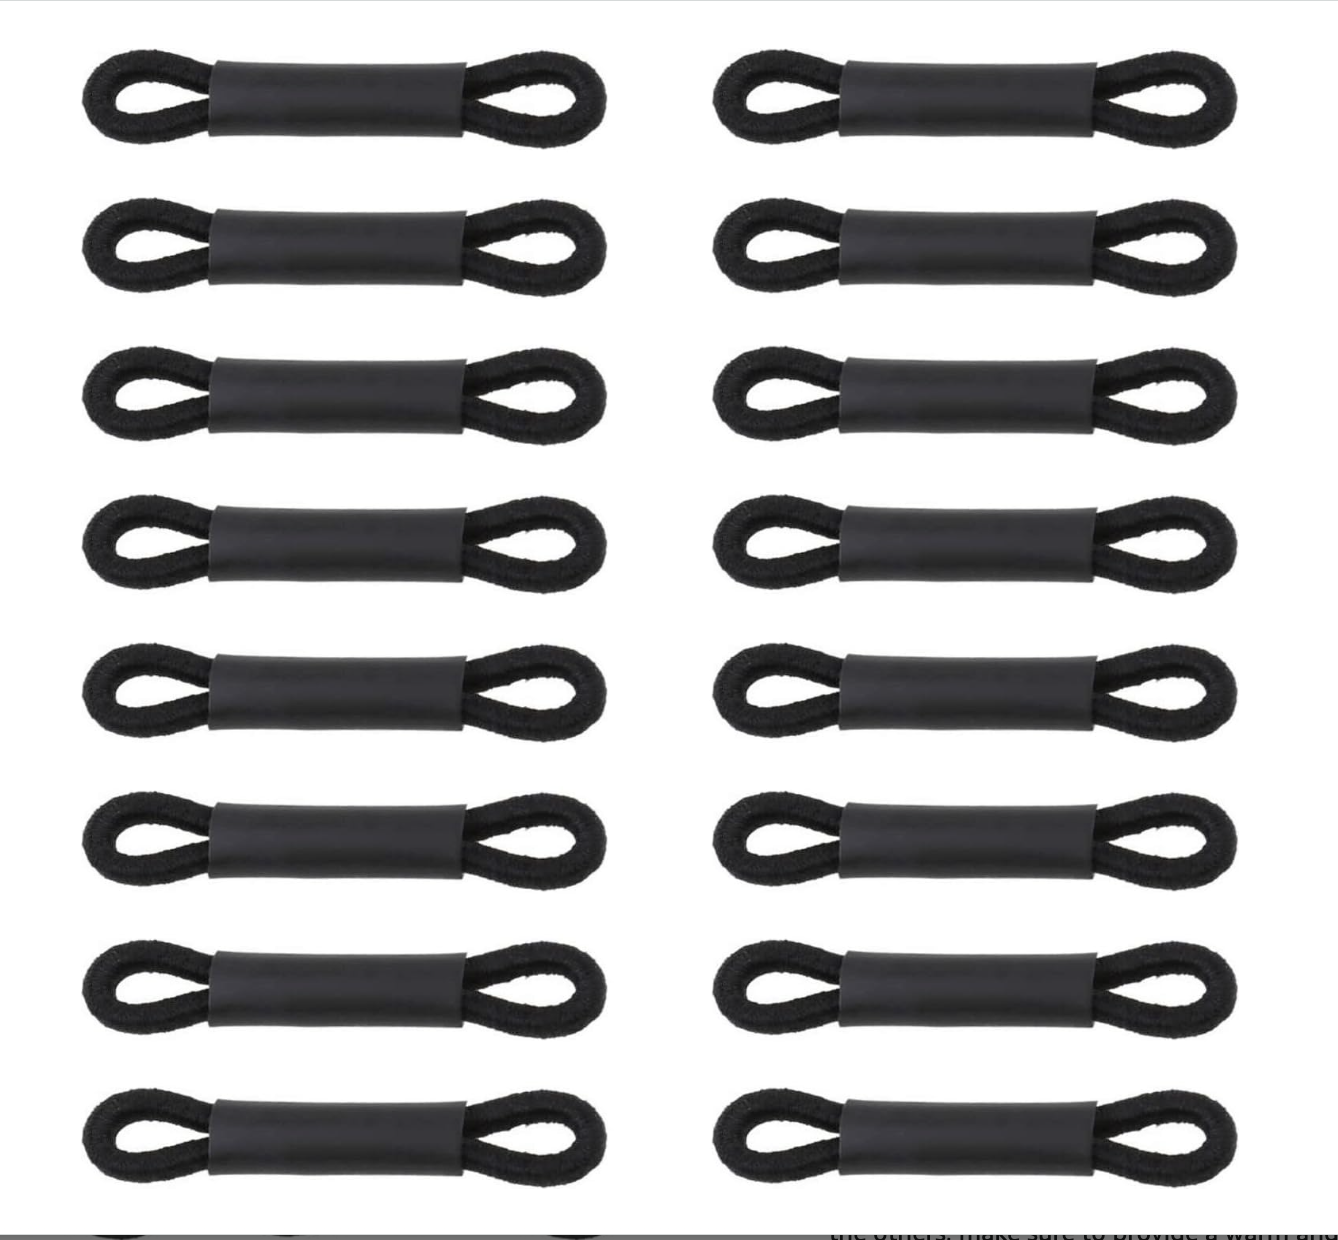
As I take chicks out, I put these baby poultry leg bands on them immediately by breed — I think you could see this at the end of the last video — and they are almost ready for the brooder. If anyone has splay leg, or even a suspiciously wide stance, I pop on some hobbles, to keep their legs underneath them. And then I dip their little beaks into a some water with NutriDrench in it — it’s their first real drink and it is full of nutrition — and pop them into the brooder.
Click here for my updated Brooder Tips post.
This post is a revised and updated version of one originally posted in May of 2021.