
Incubation & Hatching Tips: Incubation
I have my 5000th egg of the year in the incubator right now (February of 2024). and I have learned so much that I want to share with you. There will be loads of affiliate Amazon links in these posts, so you can see what things look like and if you order through them, I make a little $$ (full disclosure here).
But first, a huge shout out to Kristy Thom of White Barn Floral who loaned me her incubator back in 2019 so I could try hatching and patiently answered oh-so-many questions. Thank you Kristy!
This article will cover:
Incubator & Gear Recommendations
Humidity
Turning
Setting Eggs
Candling Eggs
Incubator & Gear Recommendations
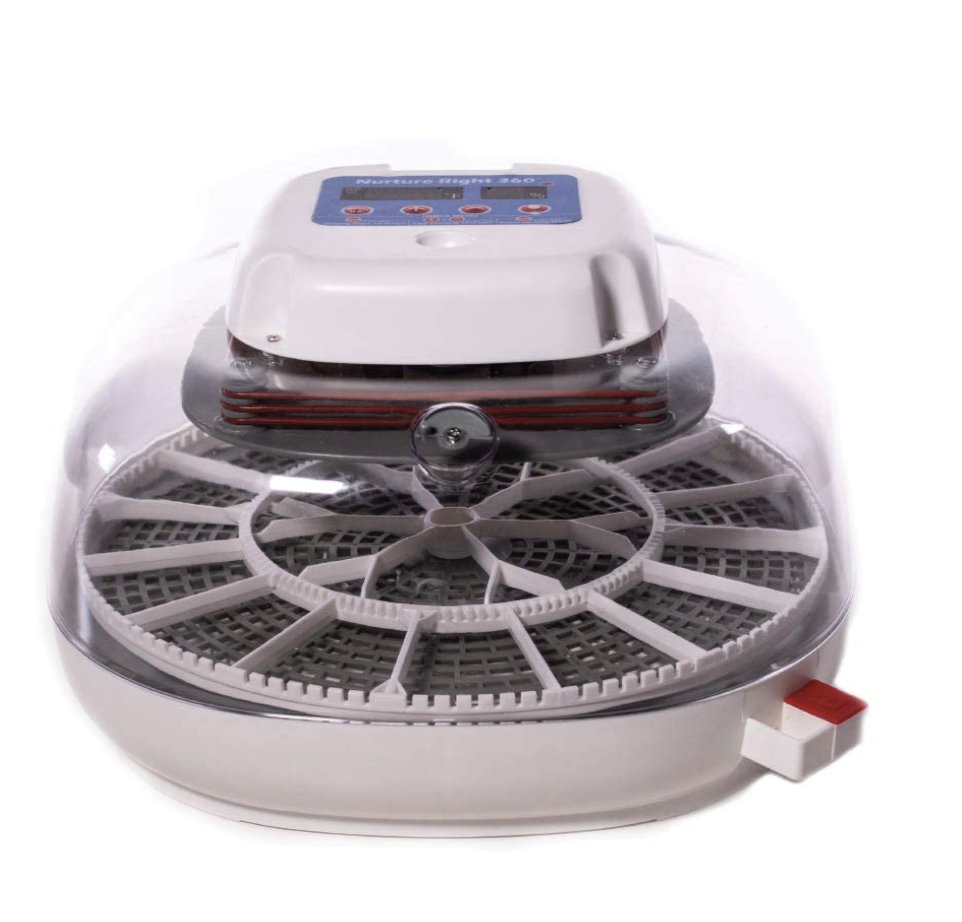
I tried a lot of incubators in the early days and there are only two I would recommend for incubating. The NutureRight and the Brinseas. I wrote up a detailed review on each of these (NutureRight Incubator Review and Brinsea Incubator Review), so I won’t go into detail here. The short version is that the NutureRight is a great starter incubator or if you are only doing a little hatching. If you are going to get serious about hatching, just head straight to the Brinseas.
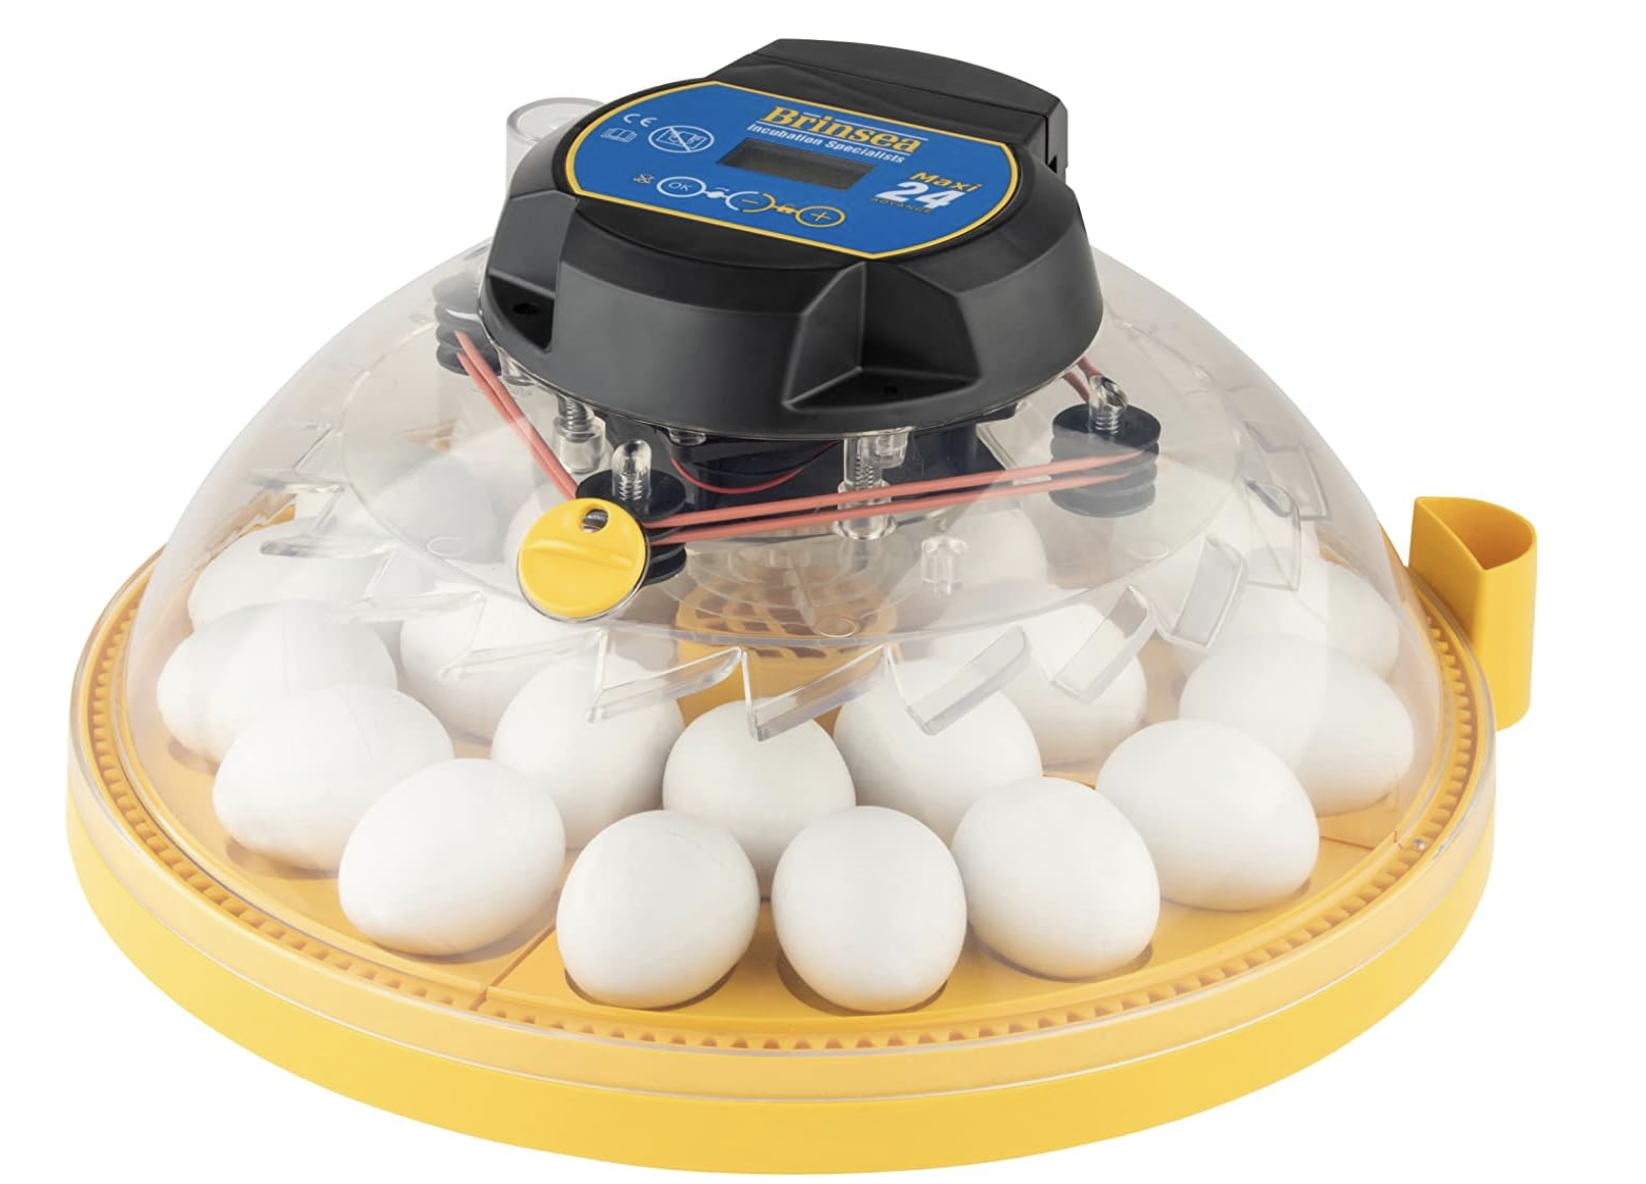
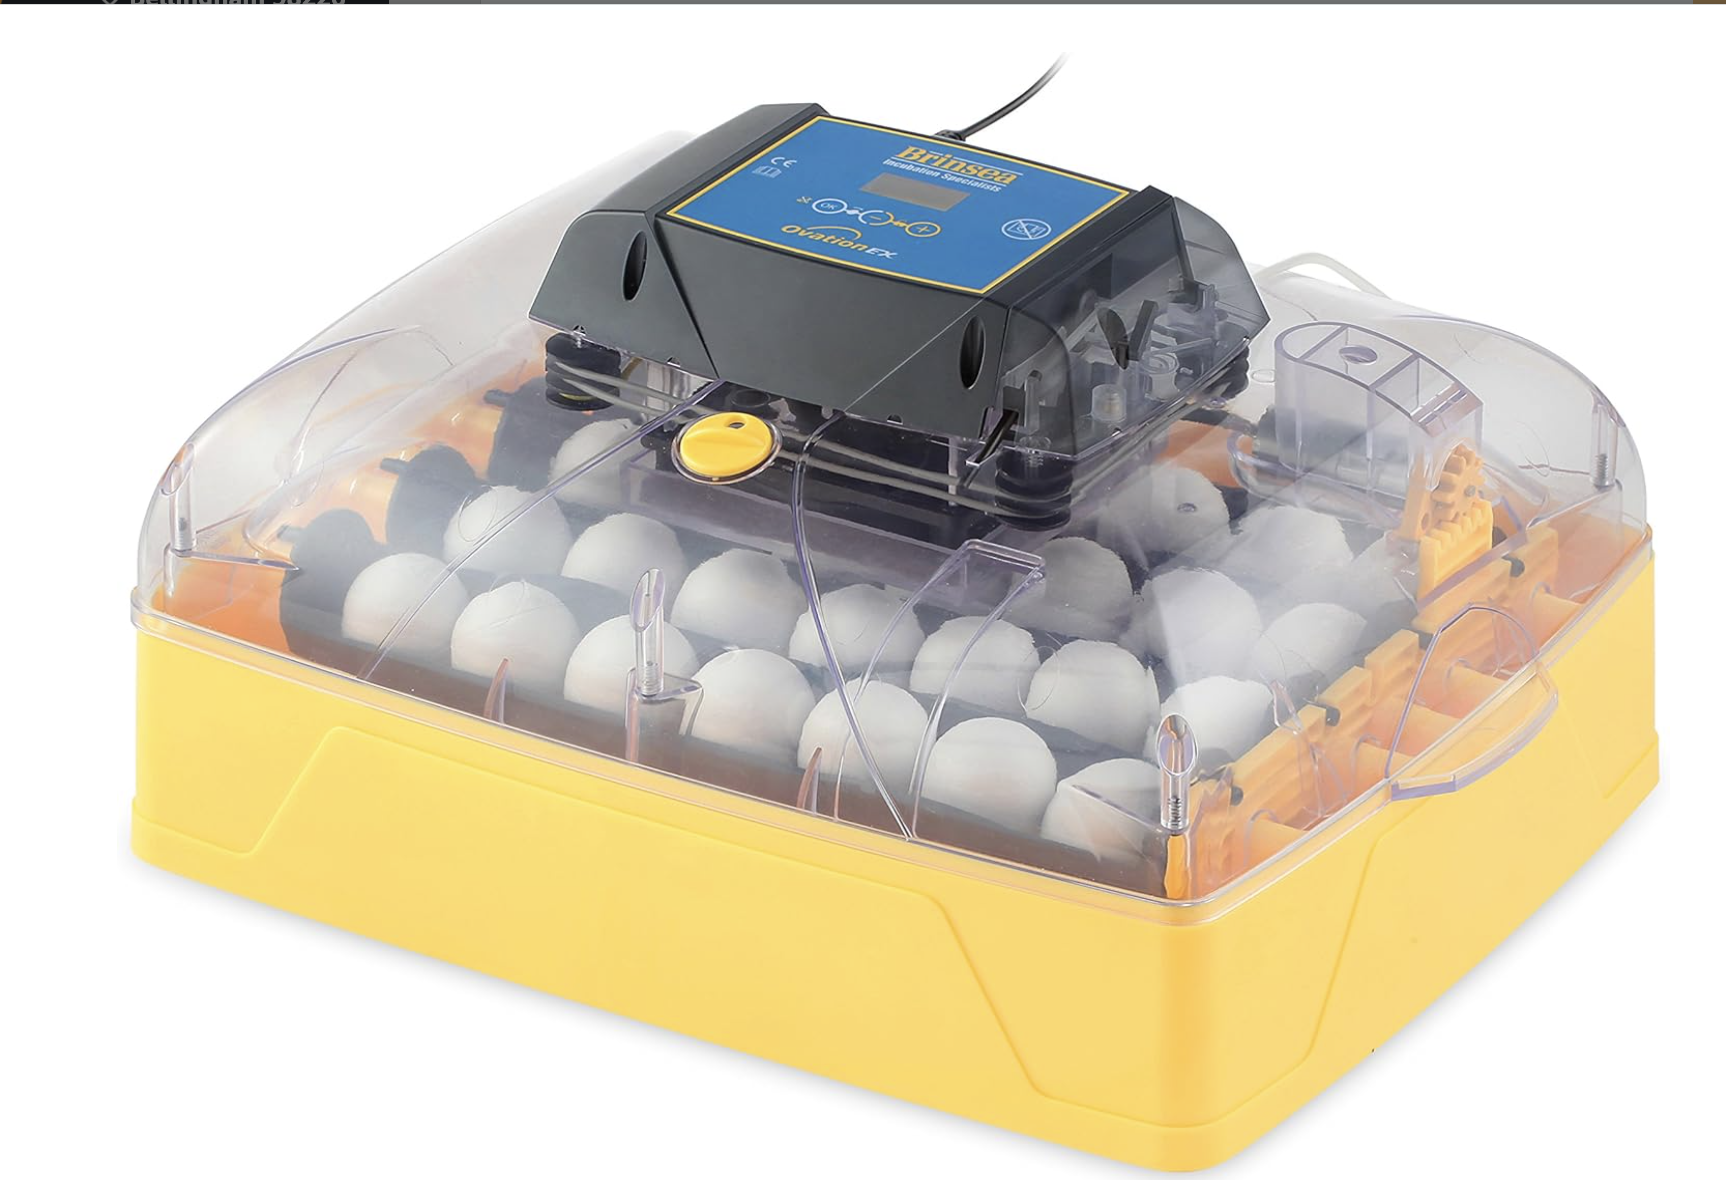
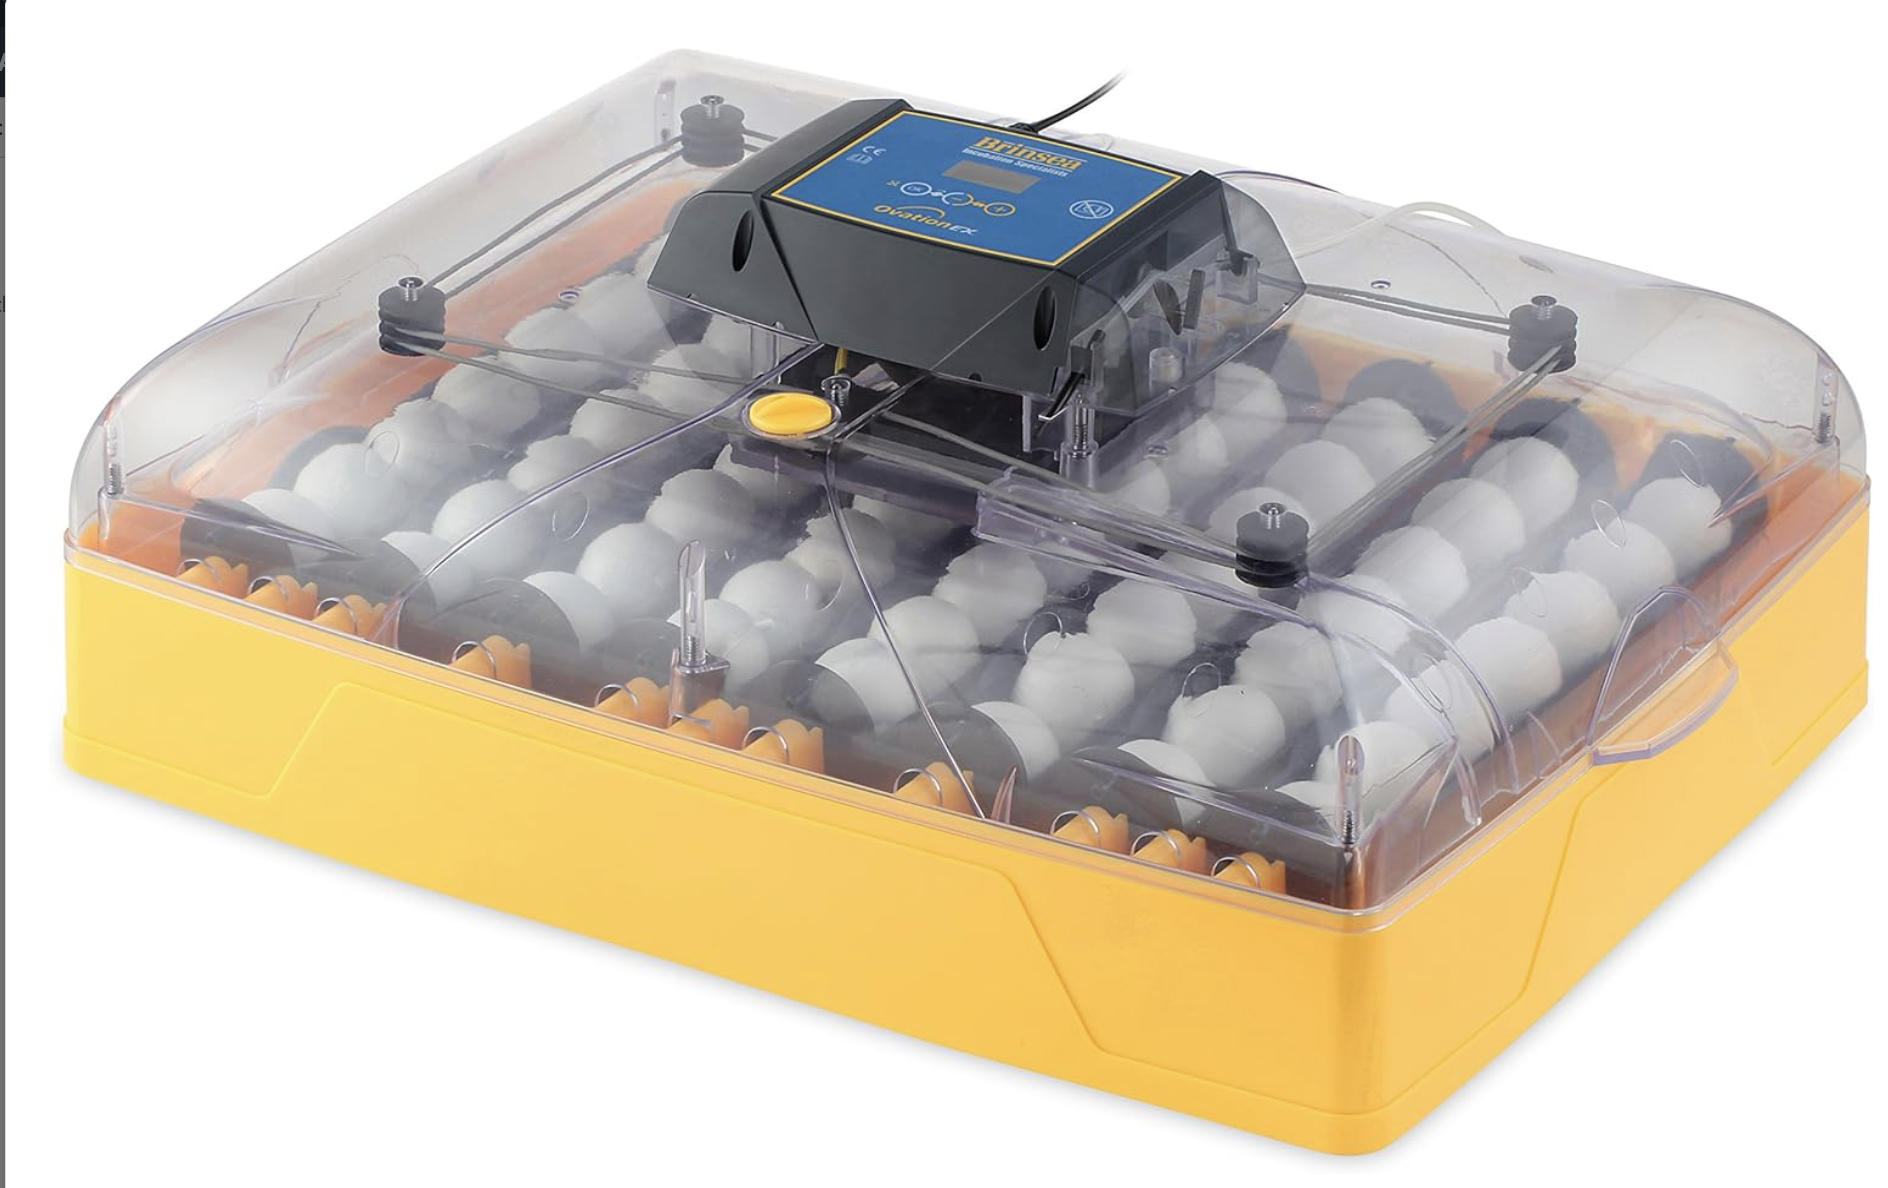
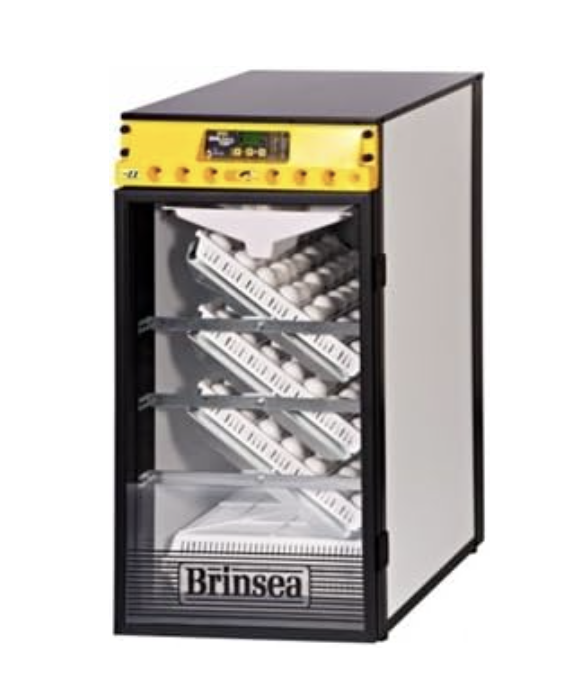
A little comment on Brinsea cost. They are costly. Worth it, but costly. I bought the cheapest one first, the Brinsea Maxi Advance, pictured above. I reserved all the money I got from the chicks I sold until I could buy the next level up (pictured below: the Brinsea Ovation 28 EX and the Brinsea Ovation 56 EX). I did this over and over until I got what I needed, selling off the smaller ones at 75% of what I had paid for them.
At present, I have three of the Brinsea Cabinet incubators that hold a little under 150 eggs each. During the slow season I just have one running, with one tray a week. As we get busier, each cabinet will hold a week’s setting, which is pretty handy as it’s a 3-week hatching cycle and I have 3.
Whatever you get, make sure your device will automatically handle the Humidity and the Turning.
Humidity
The “starter” incubators, the NutureRight and the Brinsea Maxi Advance both require you to manually monitor and add water, which is doable if you only do a few hatches a year and are an organized person. If you are on a manual system, and forget to check morning and evening, you could compromise your hatch. Stress! (I don’t need more.) The Brinsea EX models have an automatic humidity feature that just adds water as it is needed. You still should check the water reservoir daily, but if you miss one, you have a margin of error.
The Brinsea Cabinet incubators are set up for automatic humidity pumps, but you will need to order it separately. You can see them set up on top of my cabinets in this Sneak Peak of my Incubating Room here.
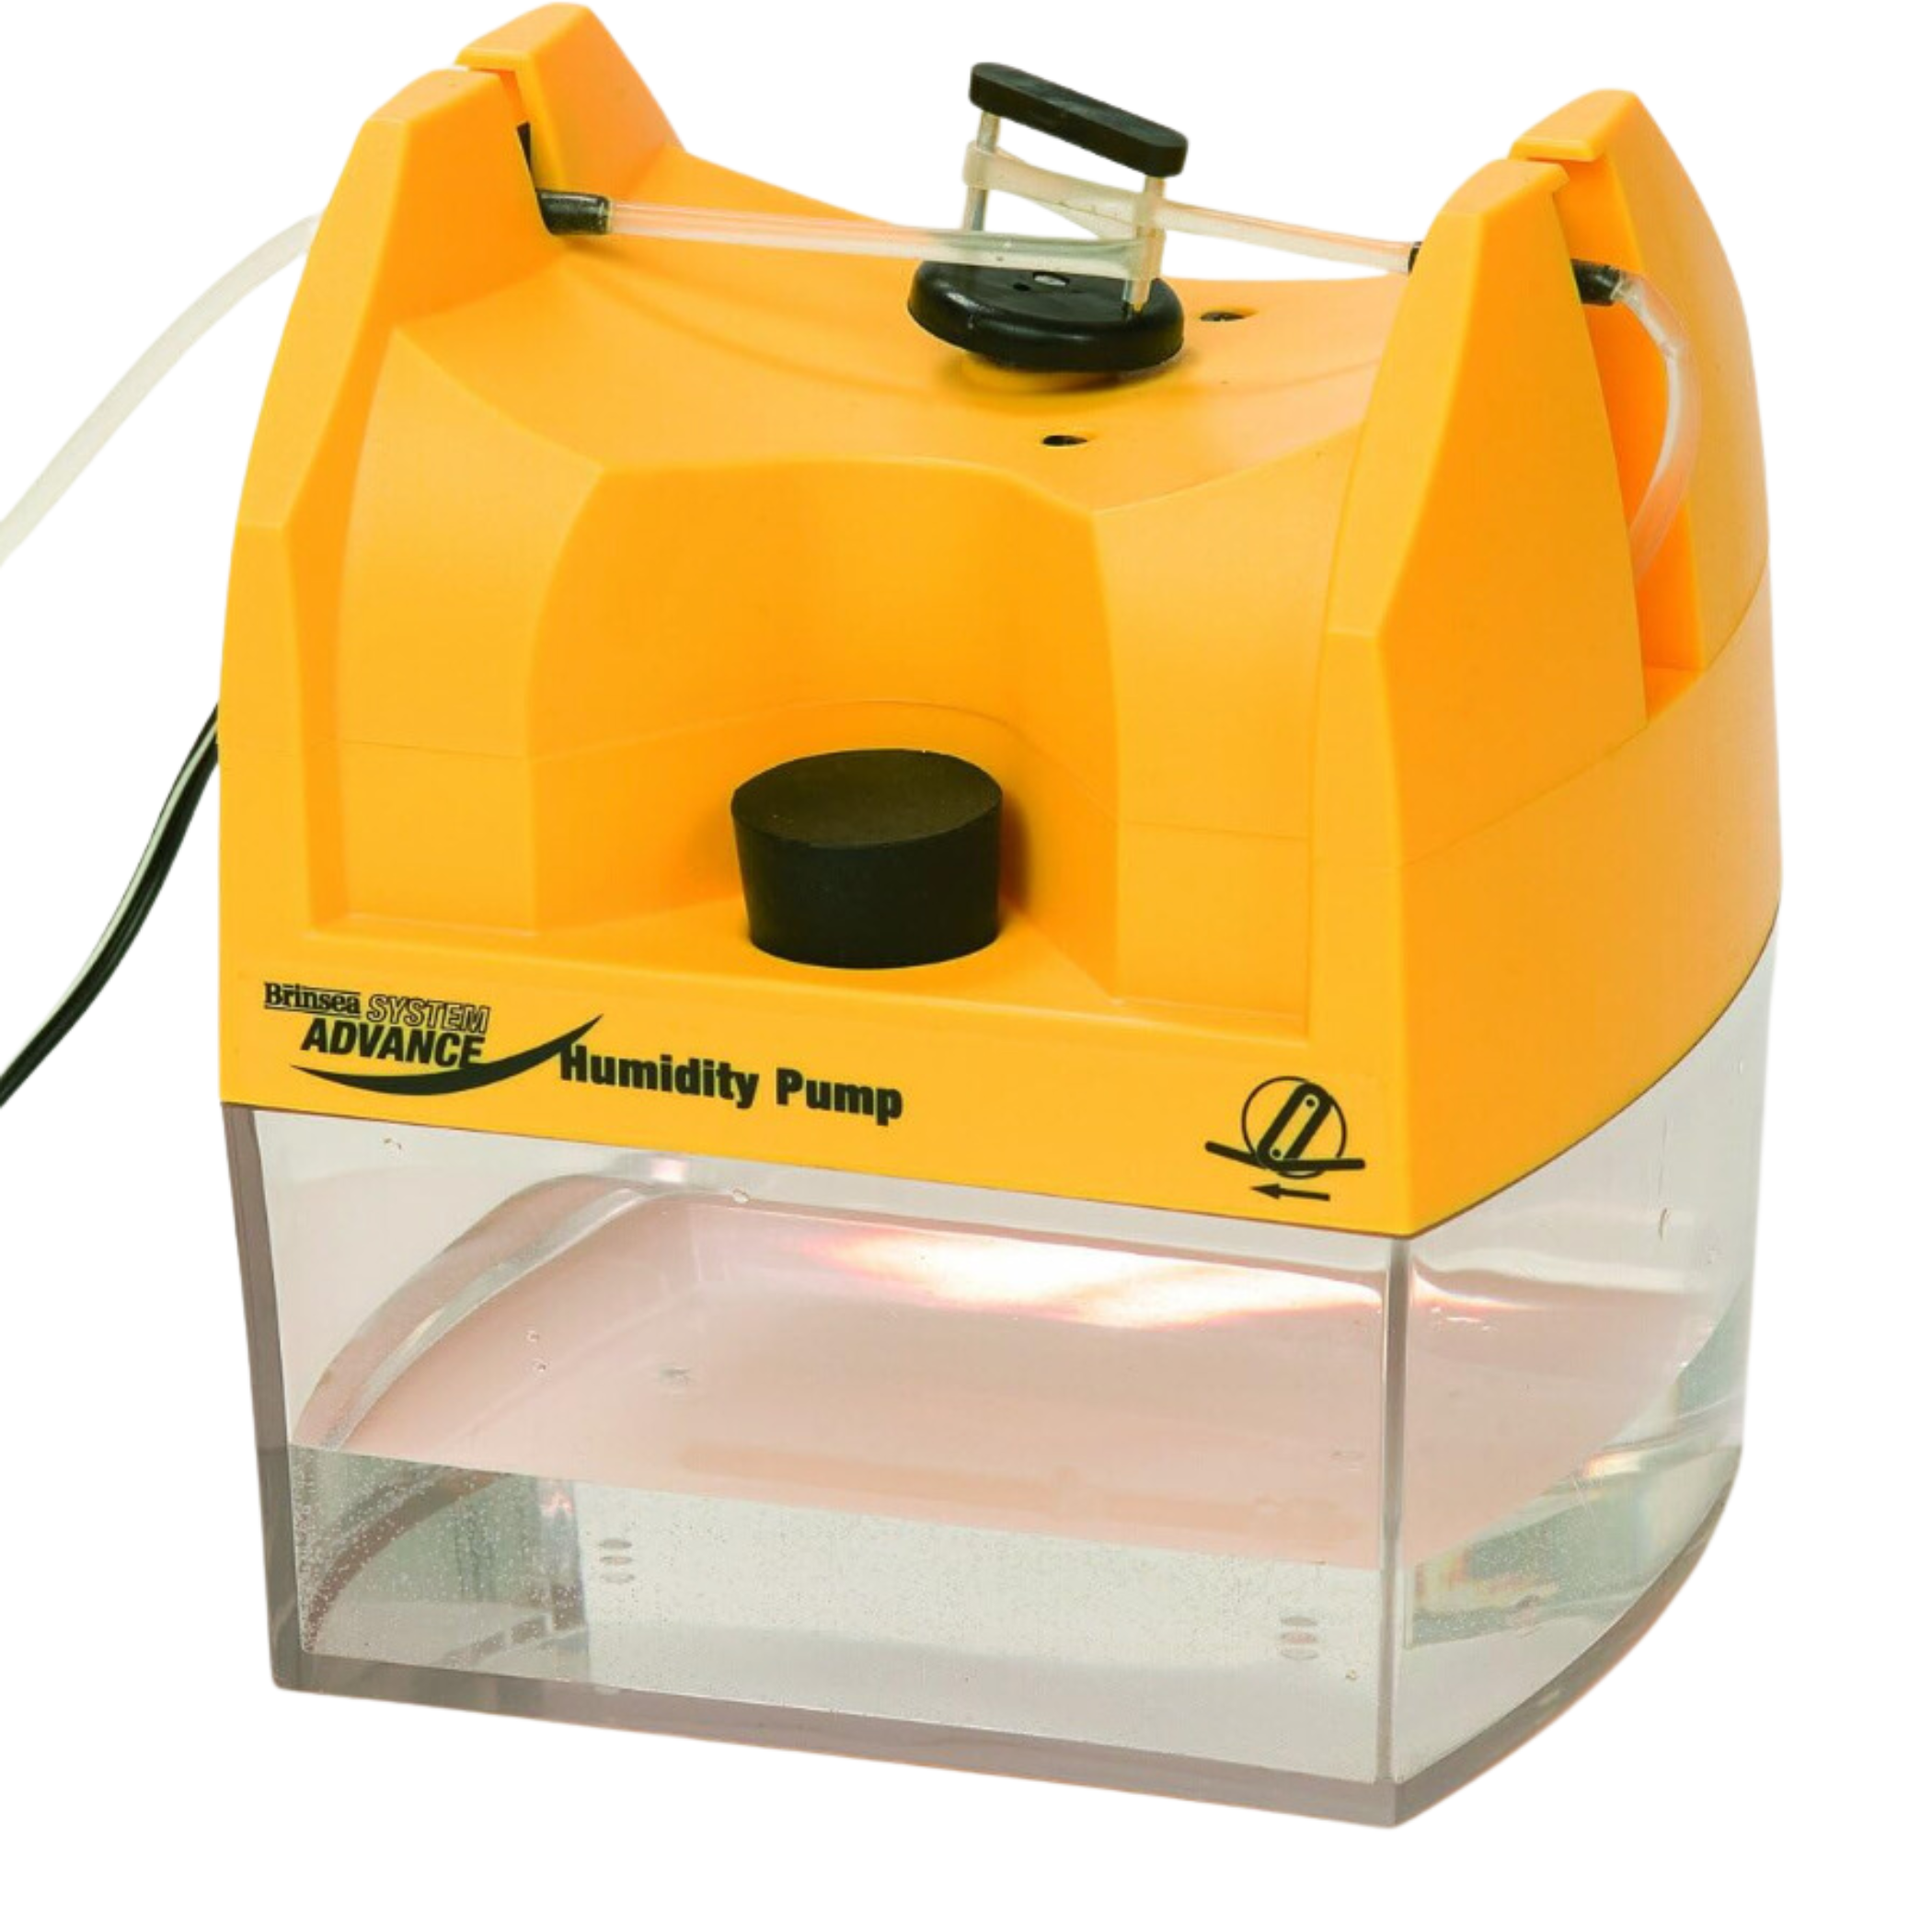
Also, be sure to use distilled water. I didn’t use distilled water at first but after scrubbing out hard water residue, I switched. Distilled water only now.
Turning:
Do note that each of these incubators has some way of turning the eggs. The little incubators — the NutureRight and the Brinsea Maxi Advance — roll the hatching eggs from side to side. The bigger ones rock them like a teeter-totter. This is important as otherwise a chick will develop laying on one part of its body and can even get stuck there. If you have ever seen a broody hen on the nest, you may have noticed her adjusting the eggs. I don’t think she uses a timer though, like the machines do.
Okay, enough about the gear (for now). Let’s talk about how it is done.
Setting Eggs
Every Monday during Hatching Season
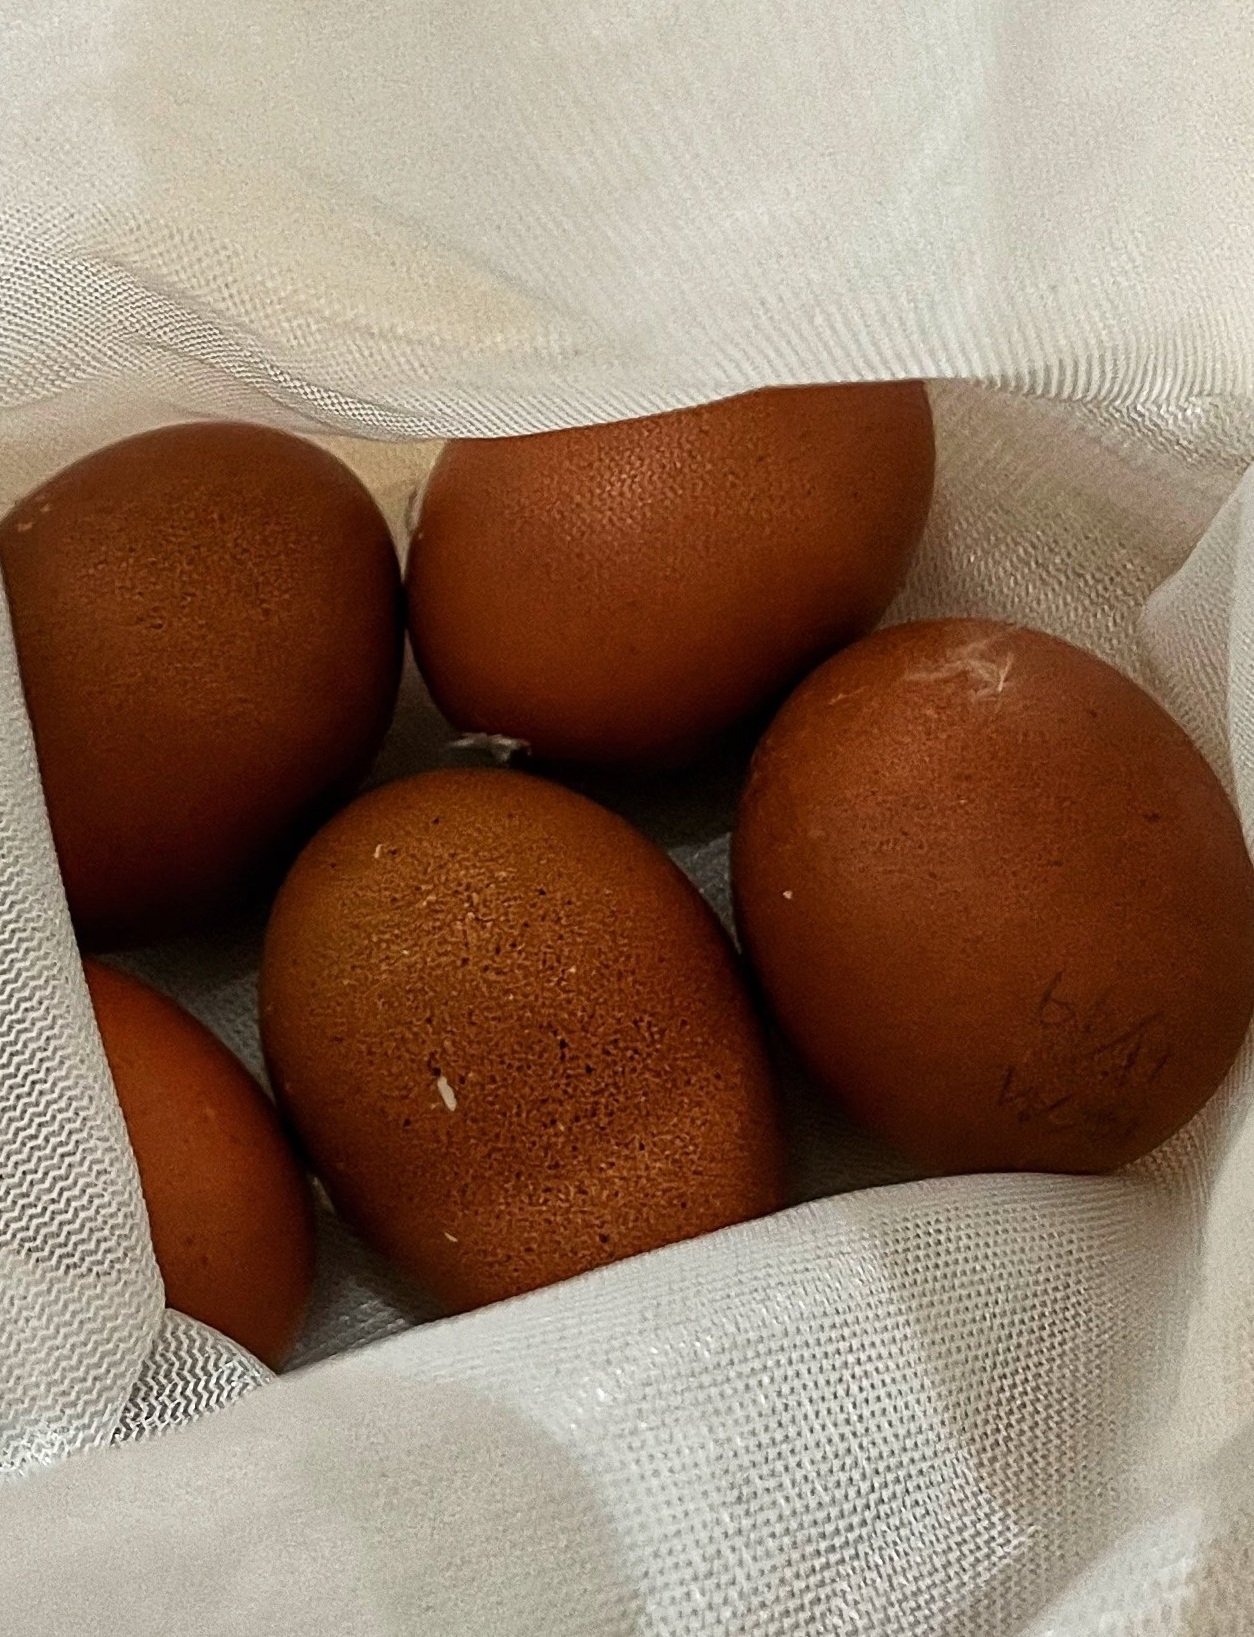
I set a tray of eggs — pointy side down — into my incubators, which were either already on from last week or that I turned on yesterday. The temperature is set to 99.5°F and the humidity is set to 45% for most of the eggs. Remember the Brinsea Ovations mentioned above — the table-top incubators? I kept two of those and if I am hatching dark brown eggs like Marans or Welsummers, I incubate them in these at 99.5°F and only 35% humidity. Why? Because the darker eggshells are a bit thicker and do better with lower humidity.

Candling Eggs
Every Friday during Hatching Season
Task One: I check the eggs from the previous week for development. This is Day 11 — I could do it on Thursday which is Day 10 — but I have to open the incubator anyway on Friday (details below) so I just wait an extra day.
I use the MagicFly Rechargeable Wireless Candler which happily has a 15% off coupon today, 2/3/2024. Definitely get the wireless one, as the one you have to plug in tethers you to the outlet and is a pain.

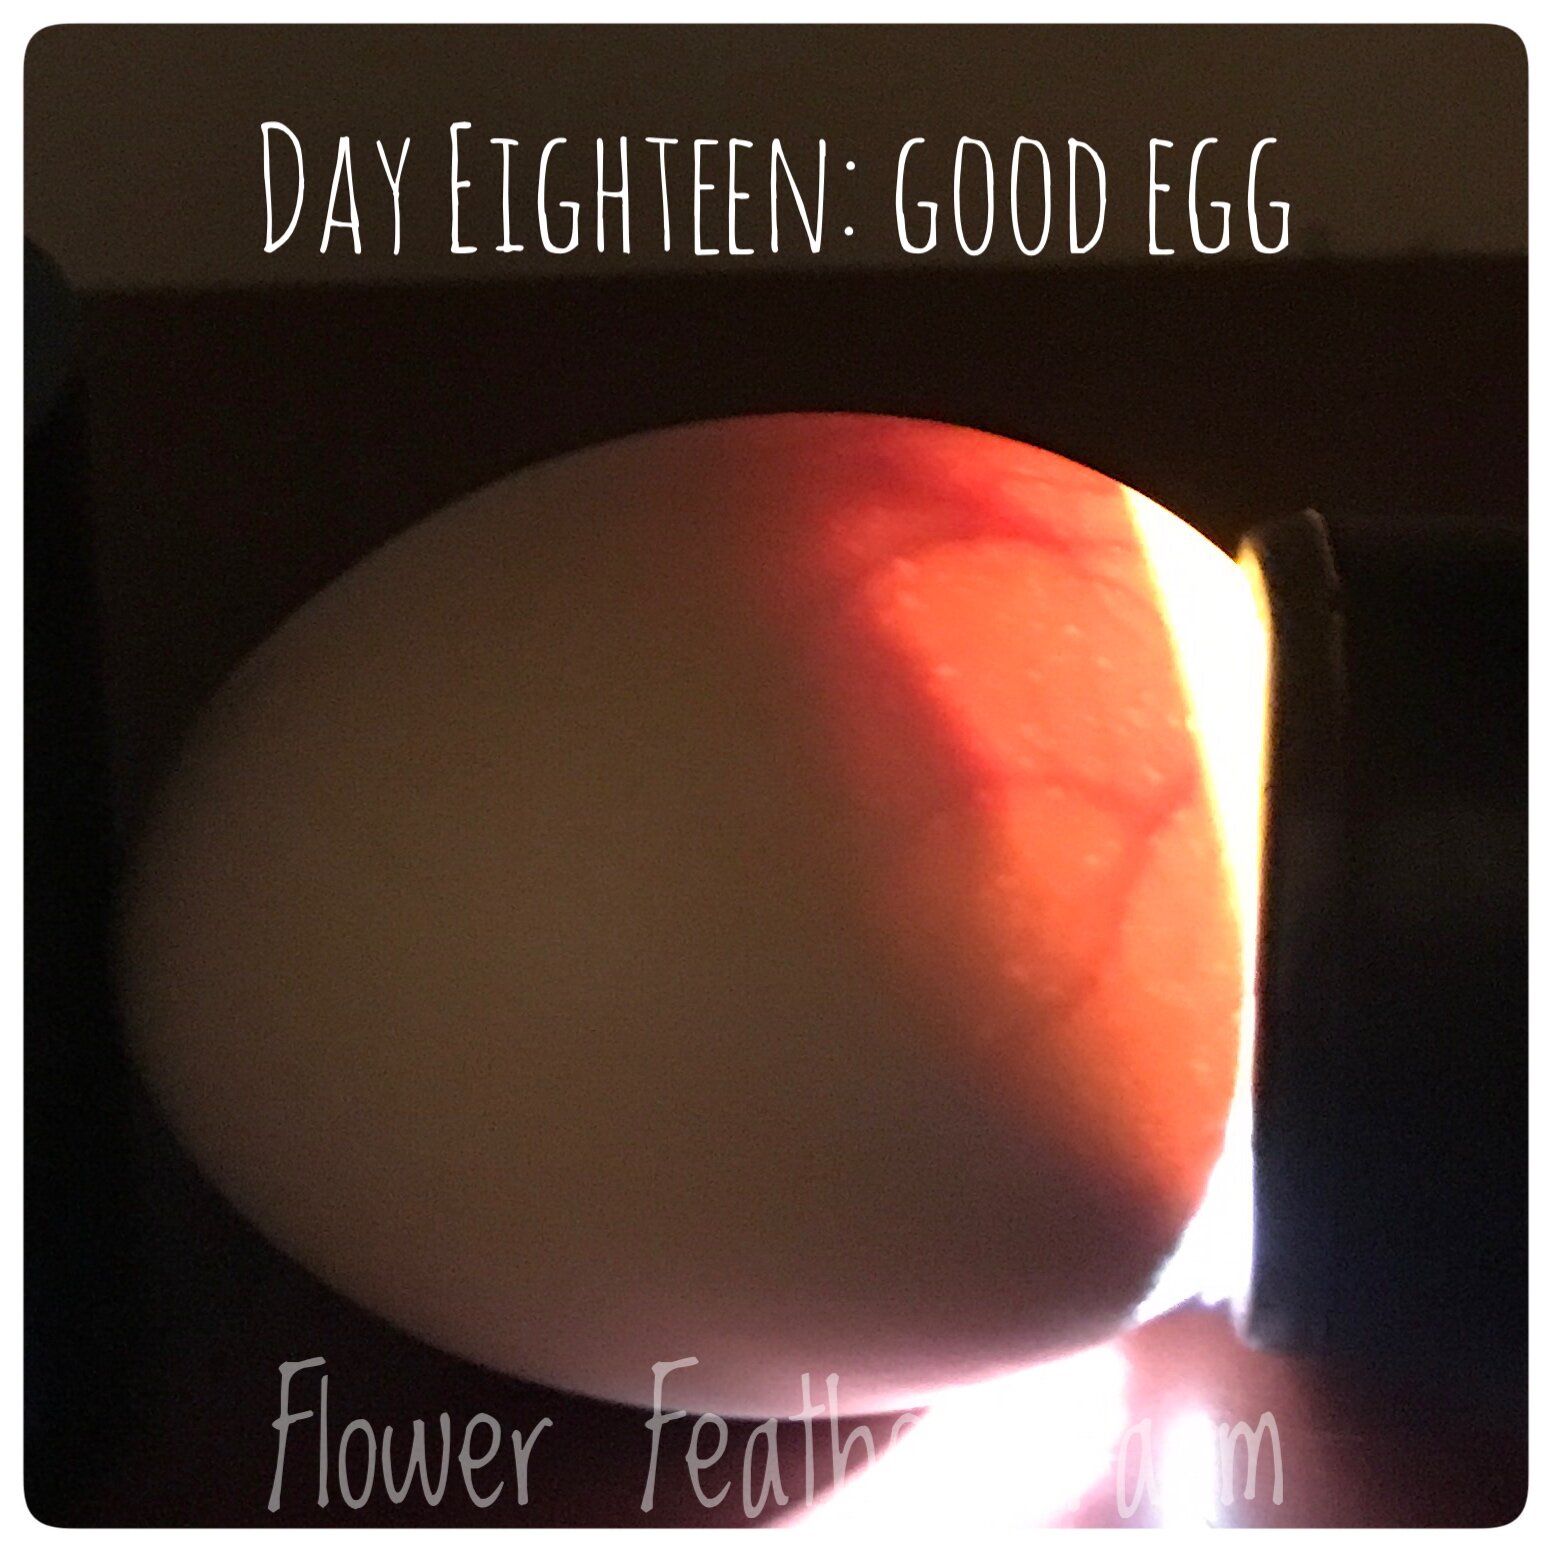
So what are we looking for when we candle at this stage? Signs of life. The egg on the left is not developing, into the compost it goes or feed it back to the hens. The egg on the right is growing a baby chick. See the little veins?


For these pictures, I removed the eggs and laid them on their sides. But usually I try to handle them the least amount possible. I pull the whole tray out of the incubator, darken the room, and shine the light on each one. I’m not even looking for veins anymore, I just look for a crisp delineation between the airsack and the rest of the contents. In my experience, if that is an easily-seen boundary, things are developing as they should.
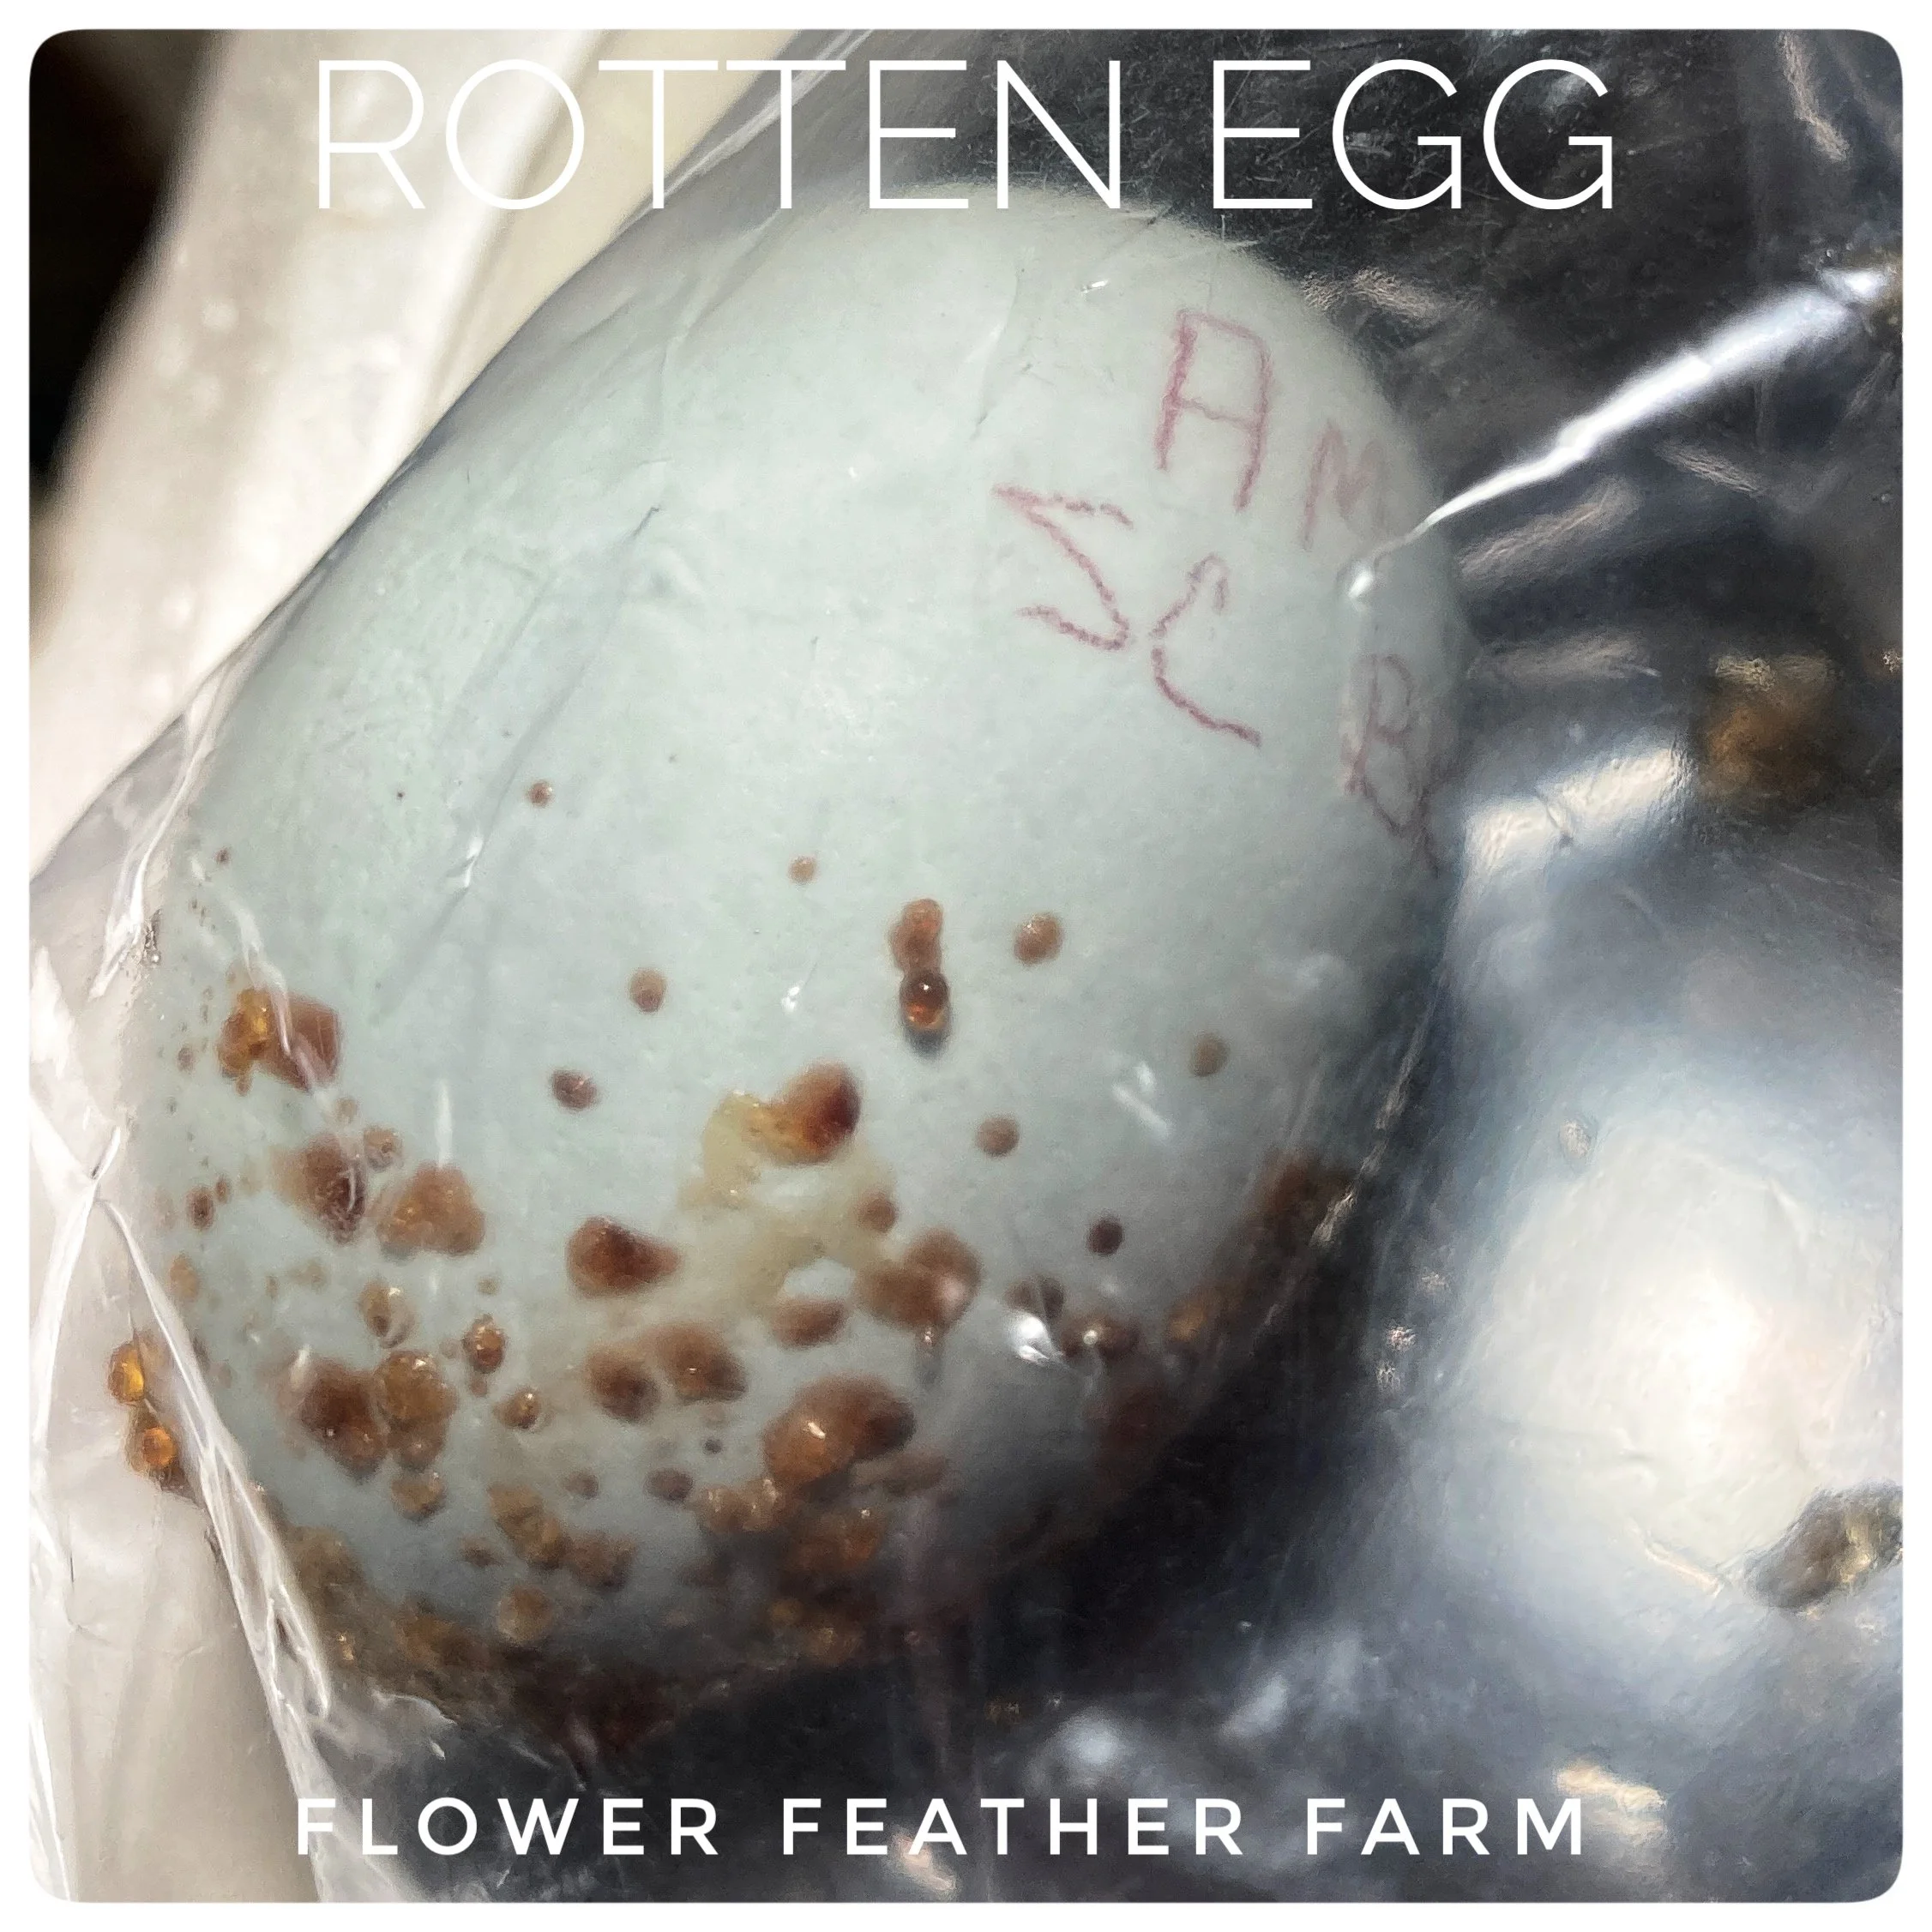
Be alert as you work: a bad smell is something you need to act upon, and if you see an egg with little bumps like this, be ready with a ziplock bag. You want to pick that up with your bagged hand, like you would dog-doo so that you can ziplock it closed immediately. It is one jiggle away from exploding and you will never fully recover from the smell.
It may happen that you drop an egg, or that you drop the candler on the egg. Do not despair. Check out the Ooops post.
Task Two: I now turn my attention to the eggs I set the week-before-last. This is their Day 18, and it’s time to LockDown — that is, to move them from the incubator to the hatcher. The first thing I do is candle them as quickly as possible without lifting the eggs or moving them about.
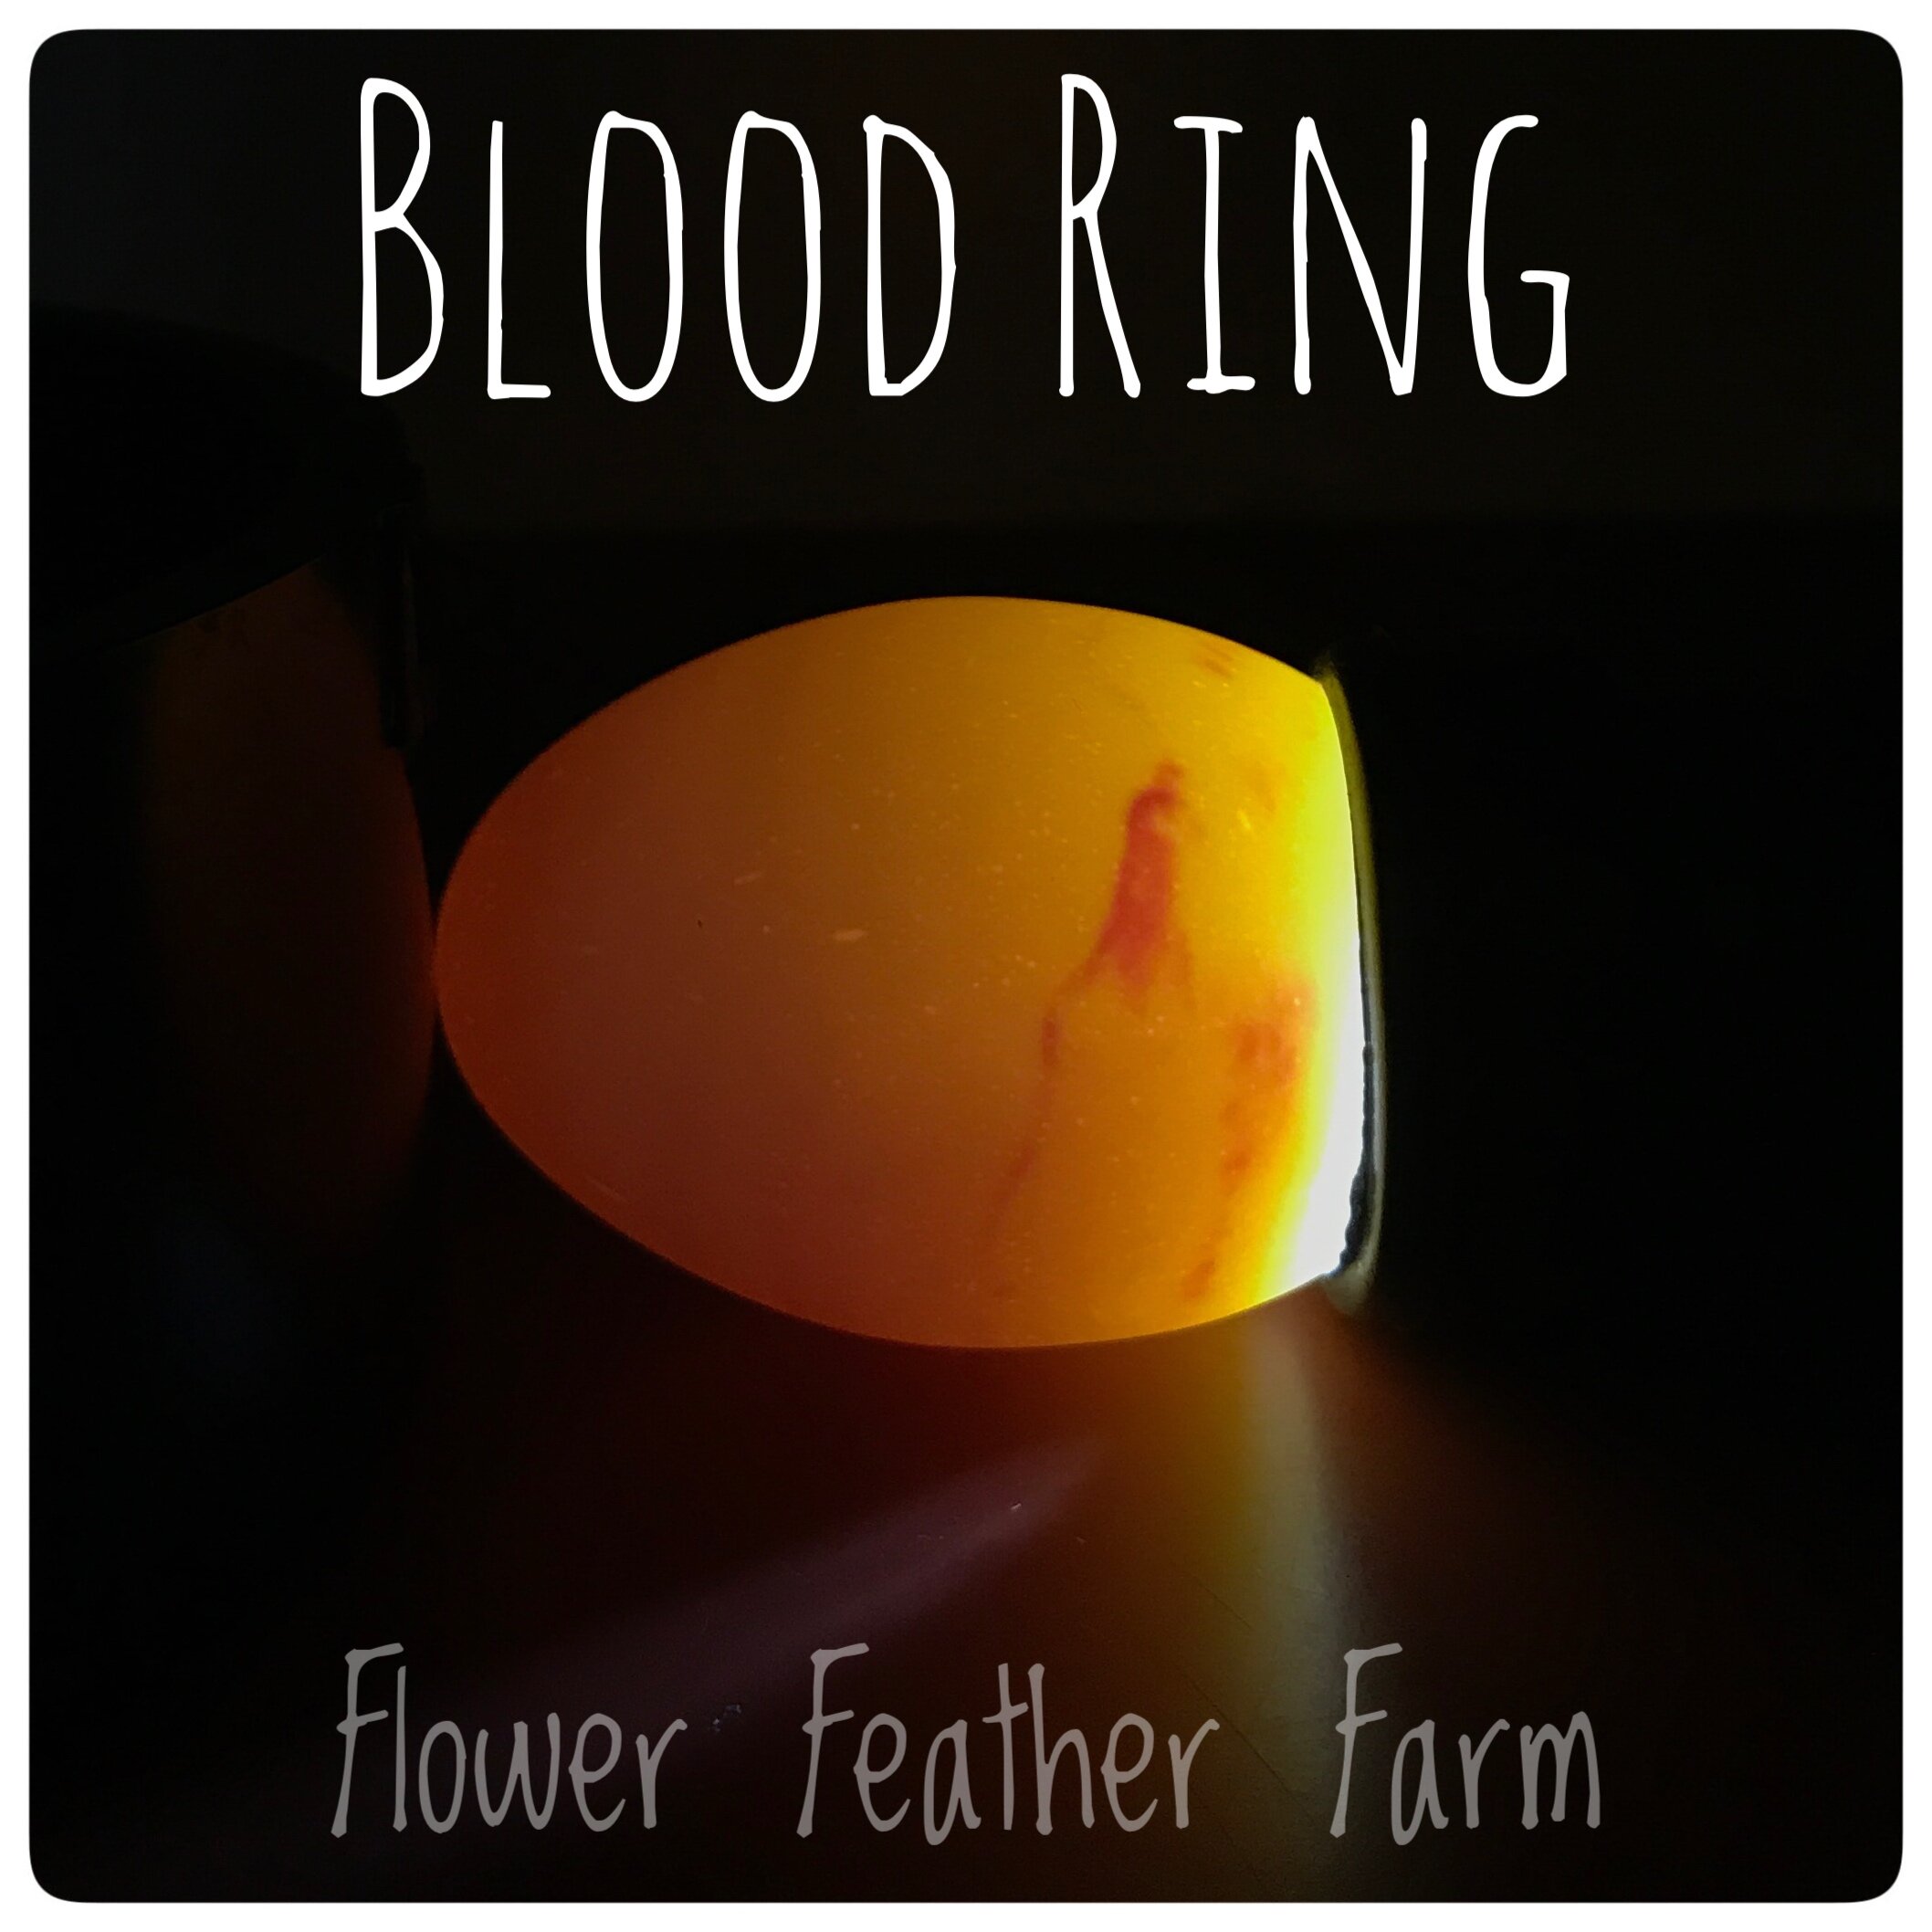
In the video below, I candled 21 eggs in 37 seconds. All I am looking for is that air bubble and an orange glow beneath it to assure me all is well. If I don’t see that, I have found a quitter. In the video below, you can clearly see the quitter egg in the back row.
Here are some more pics of what we are looking for on Lockdown Candling. Remove any that look dark and murky, any with a jaggedy red ring, and carefully remove any with seepage.

Tomorrow’s post will pick-up at LockDown and Hatching.
This post is a revised and updated version of one originally posted in May of 2021.